This easy No-Boil Mac and Cheese recipe will surprise you with its simplicity and taste. The dish is baked from scratch without boiling the pasta before. Let's make this delicious side dish together!
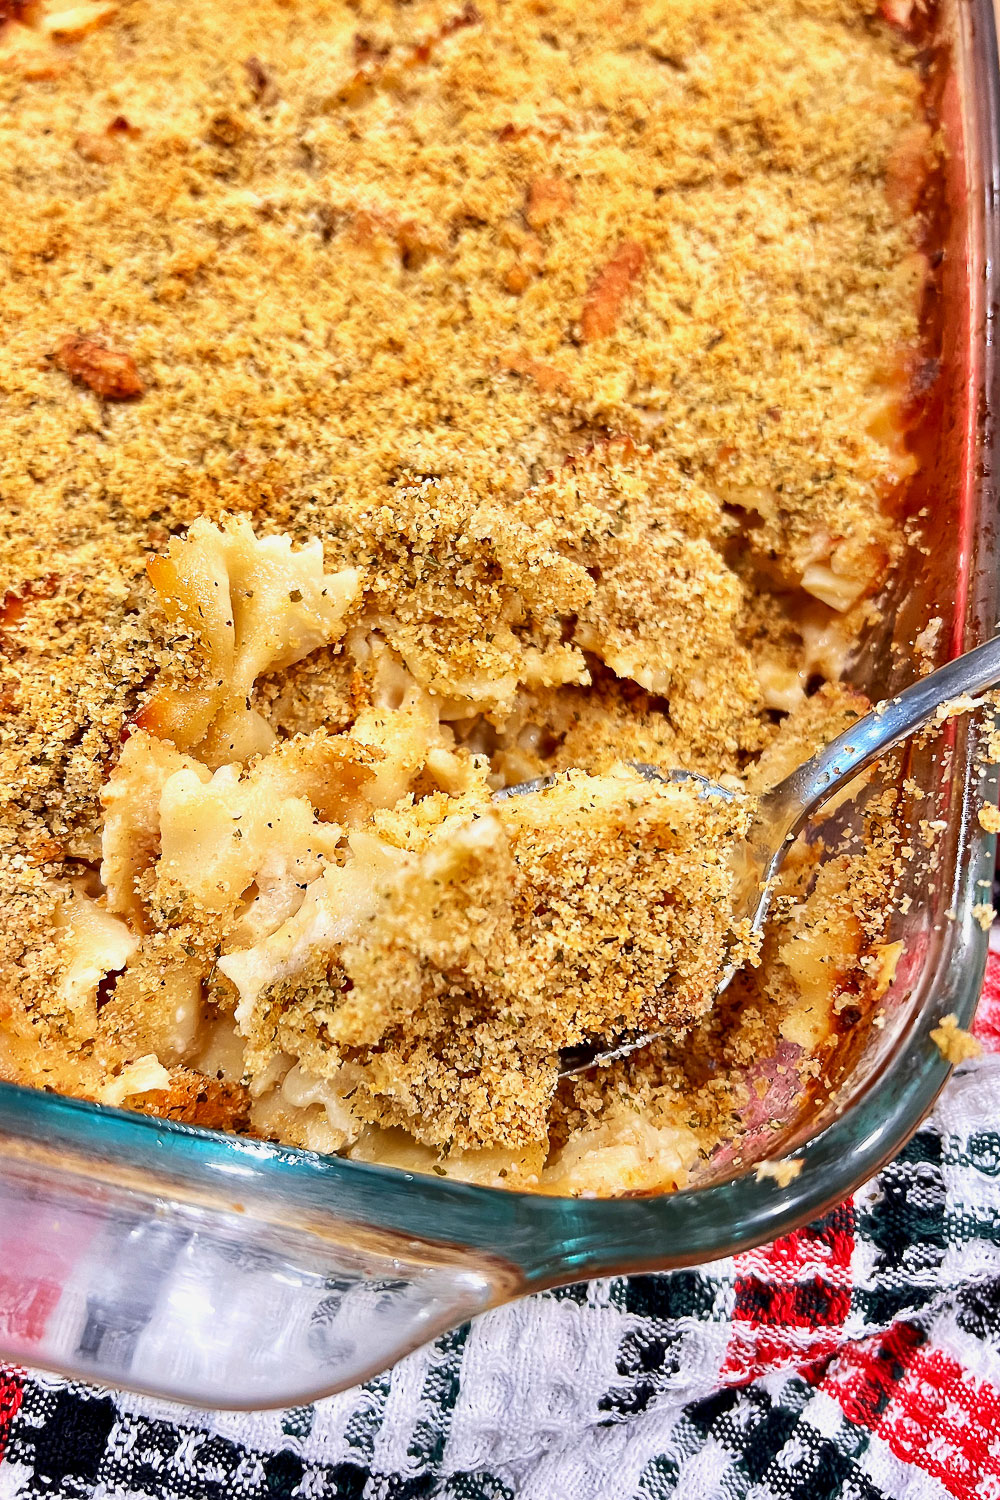
This recipe is part of my collection of Side Dishes you can find on my blog. If you are interested in more pasta recipes, try this Easy Baked Pumpkin Mac And Cheese, or this Spanish Cheesy Chorizo and Tomato Baked Pasta.
For a light summer dish, try this Easy Orzo Pasta Salad and for a delicious German dish that is great in winter, make Baked Cheesy German Spaetzle Pasta with Caramelized Onion.
Jump to:
What is no-boil mac and cheese?
Easy No-Boil Mac and Cheese is a type of macaroni and cheese that doesn't require boiling the pasta before adding it to the cheese sauce. The pasta is cooked in the sauce, which is usually made with milk and cheese, on the stovetop.
This method simplifies the process of making macaroni and cheese and eliminates the need to boil water and cook the pasta separately.
The finished dish has a creamy sauce that coats the pasta evenly, resulting in a delicious and comforting meal.
I always thought that mac and cheese is one of the most comforting casserole dishes out there. Who doesn't like homemade creamy, gooey, cheesy pasta that is easy to make? This recipe will definitely be a keeper when you learn how to make it.
Why do I love this dish?
- Easy to make- There are not too many steps involved, and the recipe uses simple ingredients that most people already have in their pantry.
- The pasta is not cooked in advance- Wait, what? Yes, you read that right. The pasta goes first into the baking tray, and the rest of the ingredients join the party for a perfect version of baked macaroni and cheese. You just have to make the sauce separately and add it to the dish.
- The perfect recipe for all occasions- This no-boil mac&cheese is ideal for any day of the week when you need an easy, comforting dinner, but you can also make it for the holidays. Think Thanksgiving, Christmas, and anything in between, as this dish feeds a crowd and saves so much time!
What ingredients go into this recipe?
Note: This is just a shopping list for you. For the entire recipe, please scroll to the bottom of the article to grab a printable recipe card.
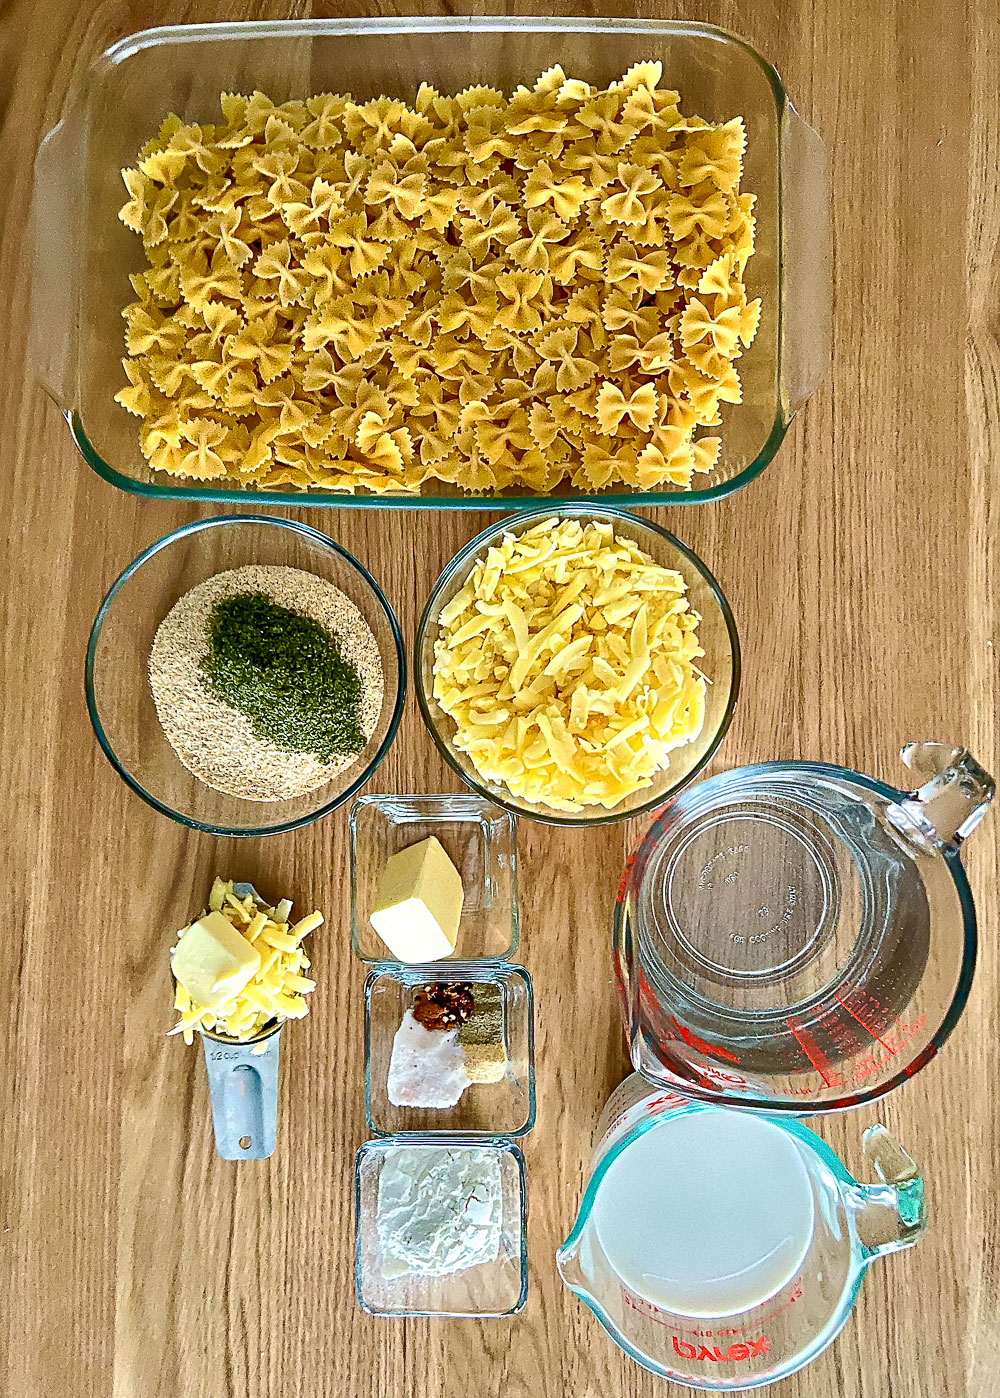
- Pasta- Elbow pasta is the preferred one in the US for the classic mac and cheese, but you can definitely use some other pasta shapes. Think penne, fussili, rotini, farfalle, etc. You will need about 16 oz. I used farfalle, as this is what I had available.
- Cheese - I used shredded sharp cheddar cheese, but you can replace it with the shredded cheese you like. See below my comment about what other types of cheese you can use.
- Butter - I use only unsalted butter because I want to control the amount of salt I put in any recipe. If you choose to use salted butter, skip the amount of salt the recipe requires.
- Milk - Whole milk is my choice, but you can definitely use other types of milk, low-fat or even plant-based, like almond milk, coconut milk, oat milk, etc.
- Flour - I used all-purpose flour. If you want a gluten-free version, use gluten-free flour to make the sauce.
- Spices: garlic powder, crushed red pepper, nutmeg
- Bread crumbs- I like regular bread crumbs. However, panko is also great, and if you are looking for a gluten-free version, I am sure you can find gluten-free bread crumbs. However, you can also replace the bread crumbs with corn chips or buttery crushed round crackers.
How to make
With minimal effort, this great side dish recipe will be ready in no time.
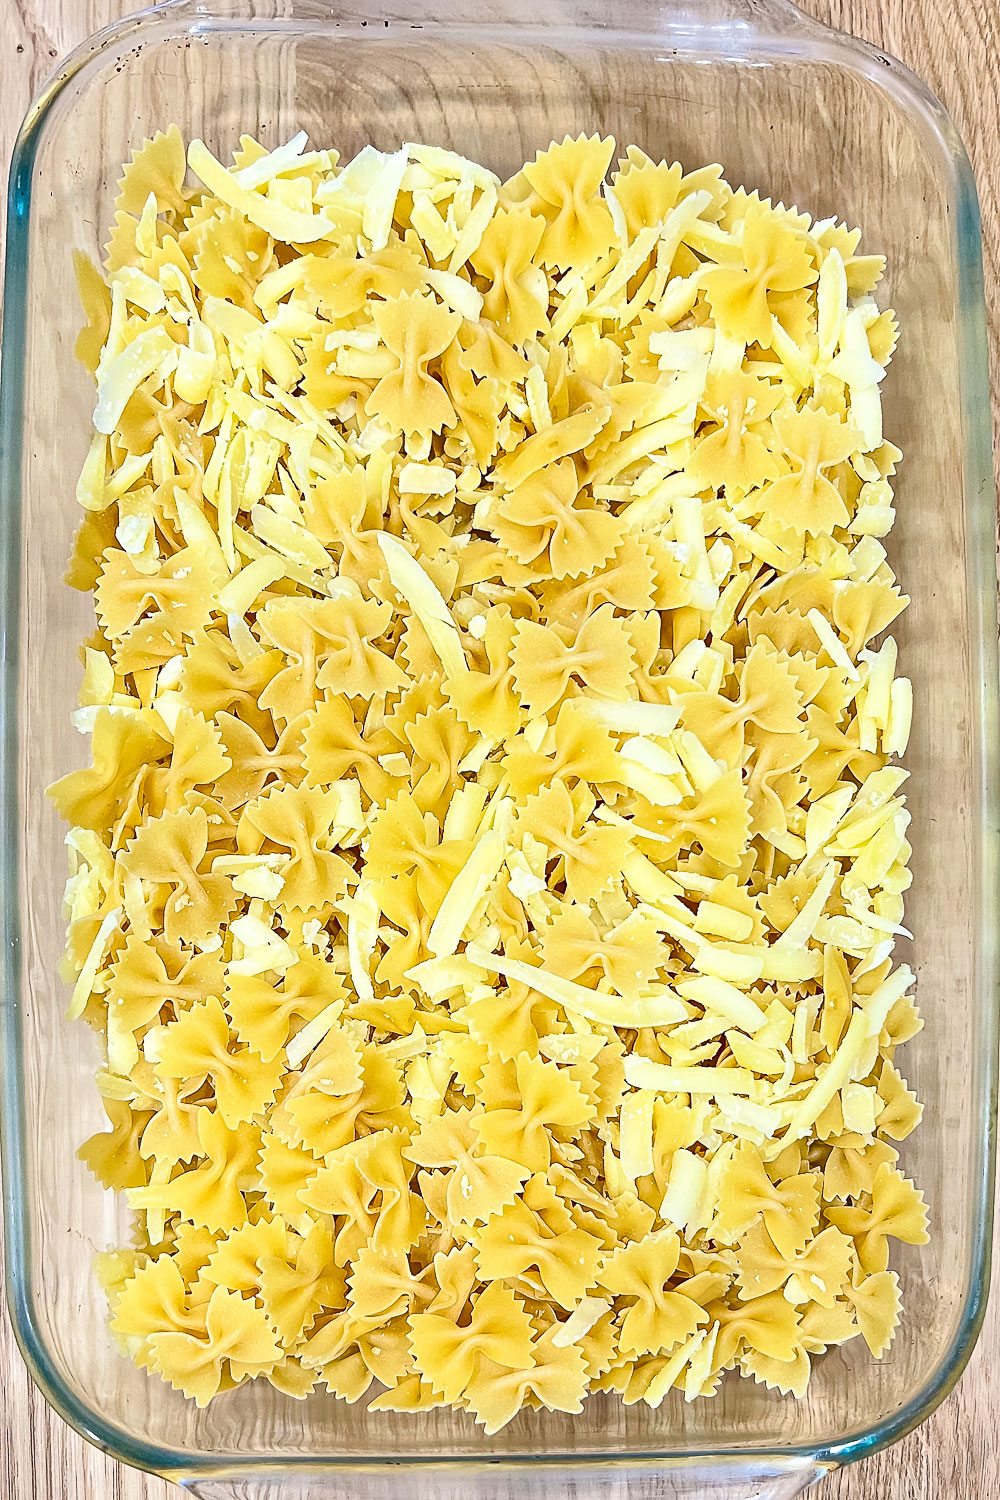
Step 1. Preheat the oven and prepare the pasta.
Preheat oven to 350F. Mix the dry pasta and cheese in a 13x9 inch and set aside.
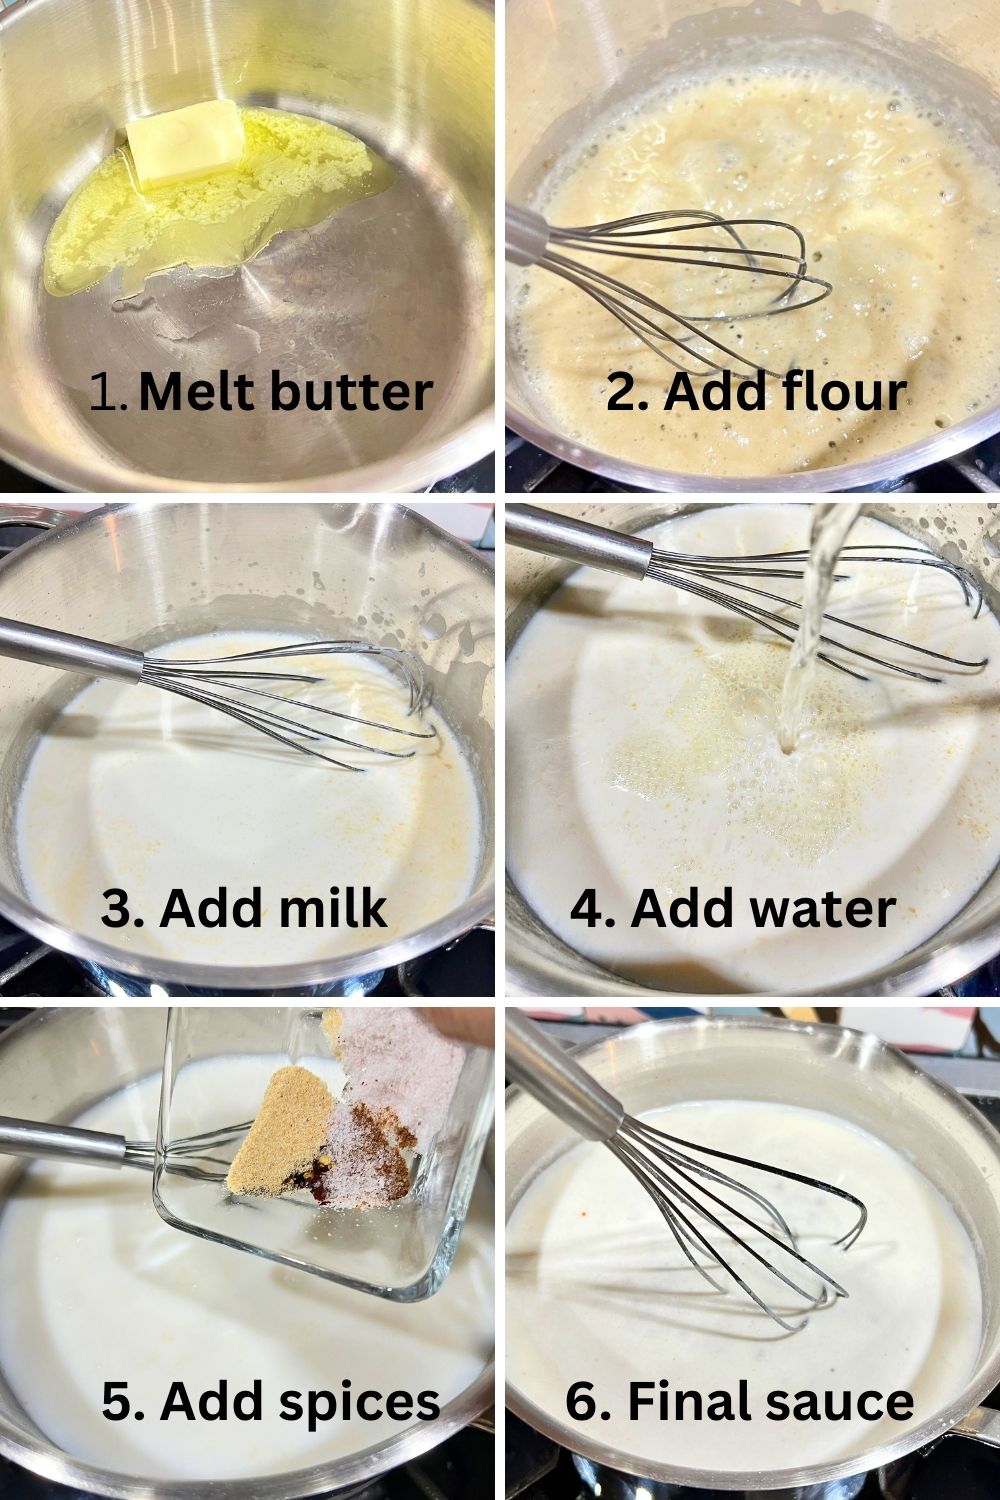
Step 2. Make the sauce.
Melt the butter, add the flour, and cook it slightly before you add the water, milk, and spices. Cook until the mixture comes to a boil.
Step 3. Assemble the dish.
Pour the liquid mixture over the uncooked pasta and cheese and cover with aluminum foil.
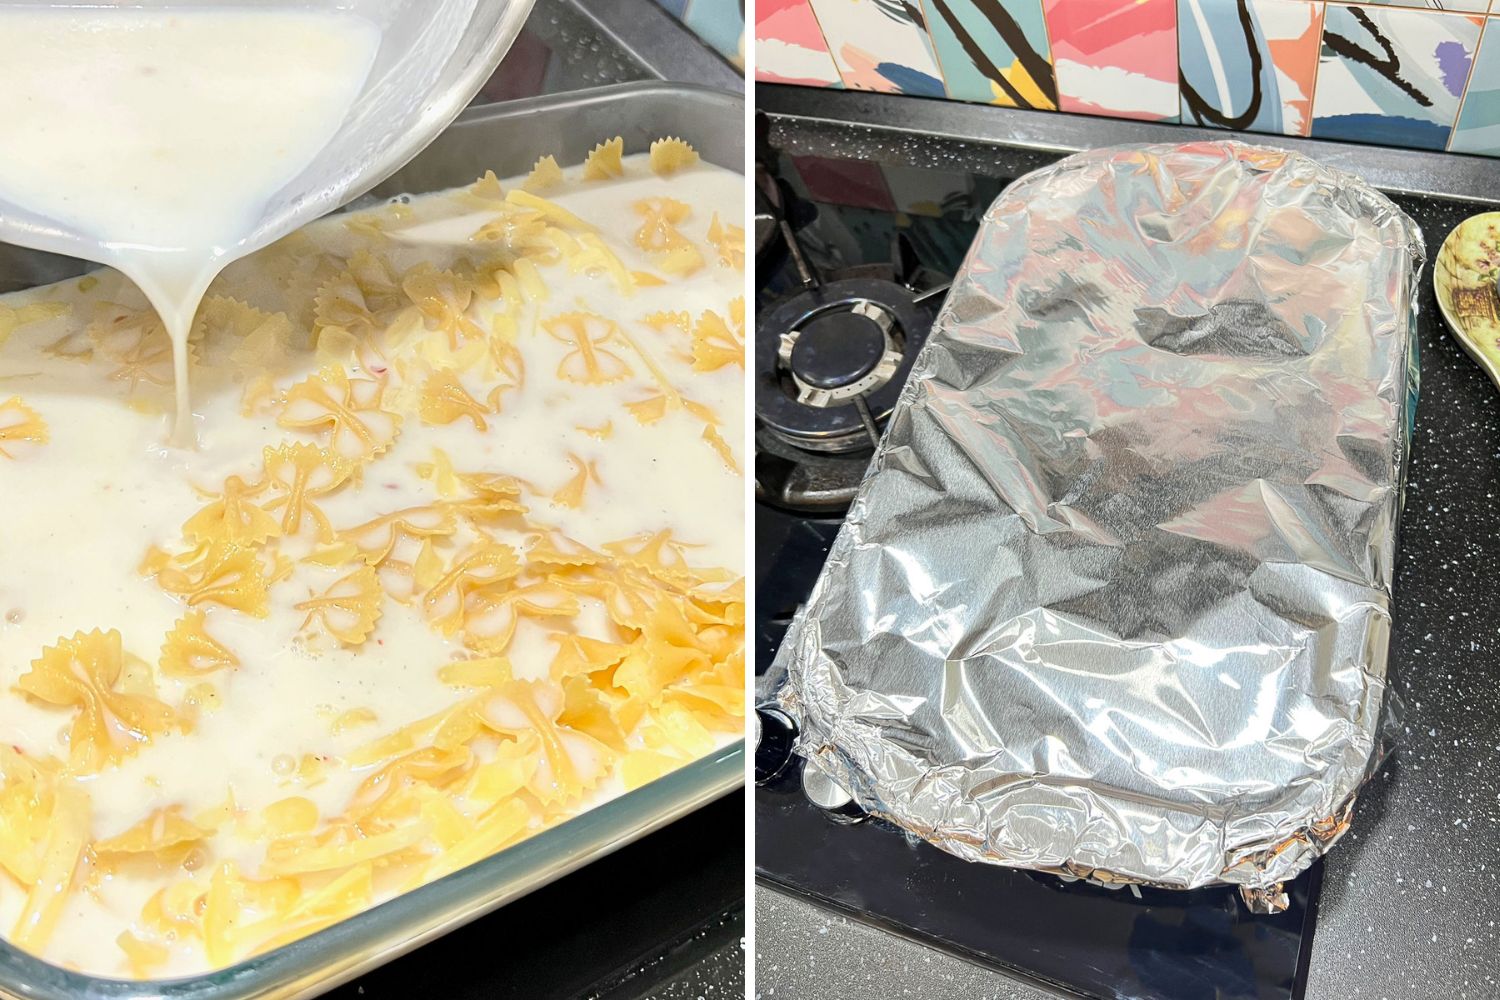
Step 4. Bake.
Bake until pasta is almost tender. (See the full instructions at the bottom of this article.)
Step 5. Add the topping.
Melt butter in the skillet and add the breadcrumbs and dried parsley. Remove the pan from the oven and sprinkle bread crumbs over the dish. Add the extra cheese and bake uncovered until golden brown.
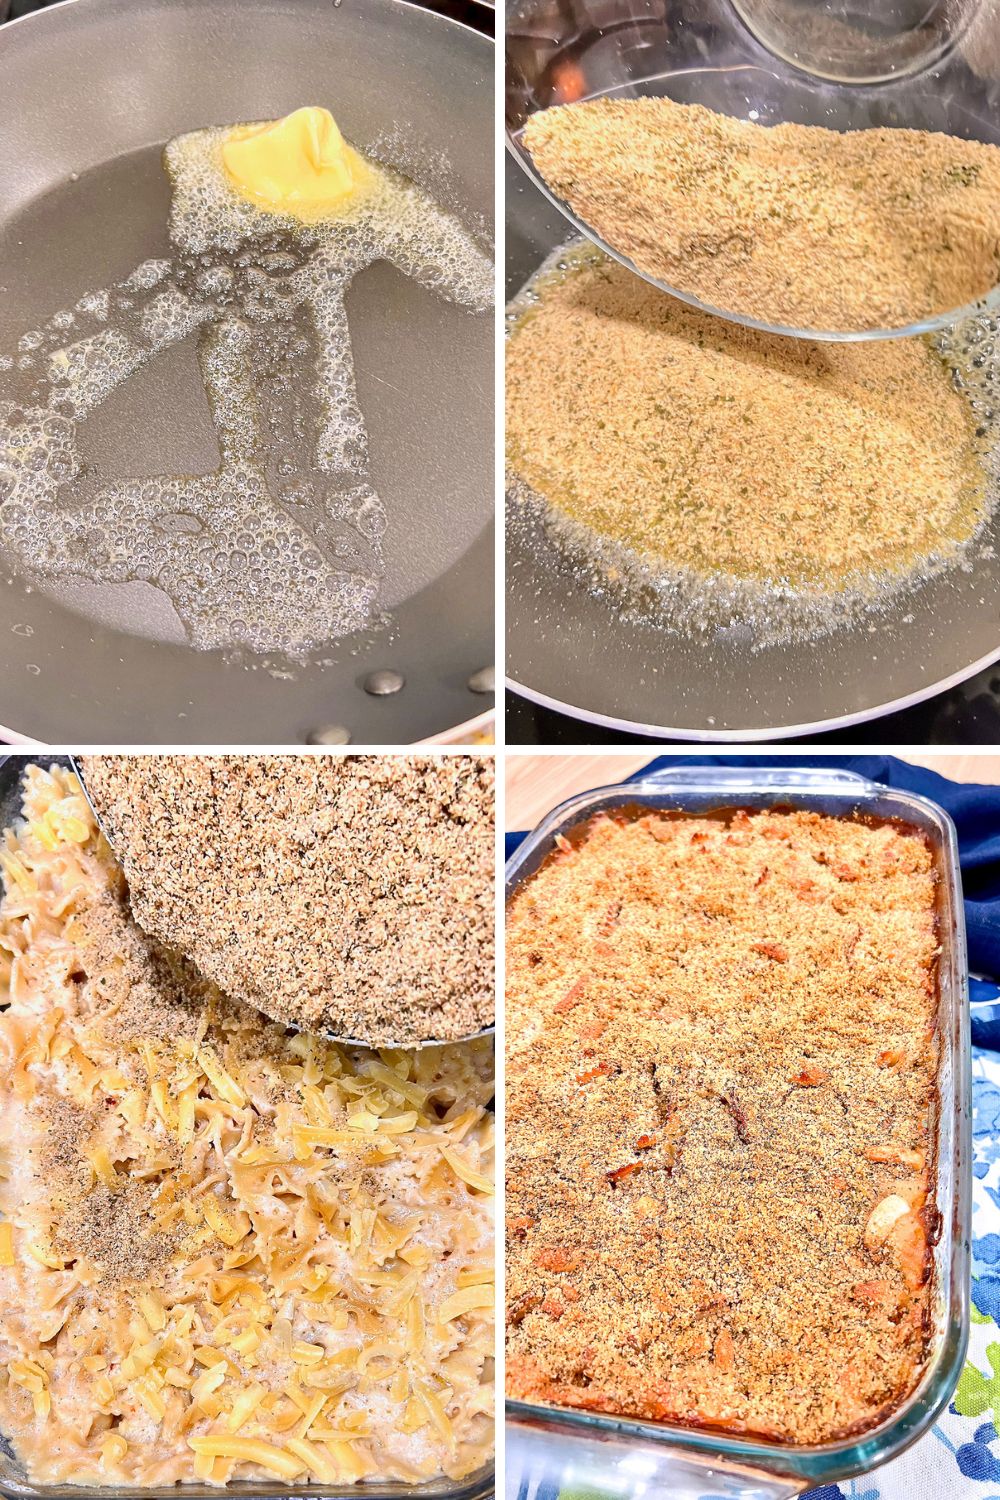
How easy is this?
Serve with:
Try this Classic Meatloaf With Oatmeal Recipe, and make the Best Apple Coleslaw.
Some other dishes that go well with mac and cheese:
Chocolate Chipotle Chili Soup Easy
Chicken Breast Schnitzel- French Style
No Breaded Fried Chicken Thighs - Grandma's Style
10 Easy Recipes With Pork On The Bossy Kitchen
Recipe Faqs:
Of course. If you are trying to eat healthier or you are avoiding gluten, there are many tasty alternatives to standard wheat flour-based kinds of pasta. According to Bon Appetit magazine, the best pasta for baking is yellow pea pasta. It holds the shape and cooks beautifully in the oven.
If you know more gluten-free pasta that is good for baking, feel free to share it in the comments, as it would be helpful for all of us.
From sharp to tangy, from buttery to melty, here are some of my favorite cheeses you can use in your mac&cheese:
- Smoked cheddar cheese - This cheese will add depth to any mac and cheese dish.
- Havarti cheese- Is mild and slightly tangy, made from cow cheese. It melts really nicely. Look for the plain variety of Havarti cheese and not the one that is made with dill.
- Monterey Jack cheese with peppers- Is made with chile peppers that add a spicy kick to your recipe.
- Fontina cheese- Buttery and mild, this cheese melts beautifully, making it perfect for this no-boil macaroni and cheese.
- Mozzarella cheese- This cheese proudly wears the crown for the most melted cheese out there.
Plain mac and cheese is delicious, but why not stir in some other items to make it more interesting? Here are some ideas:
- cooked ham
- cooked smoked sausage
- cooked chopped bacon
- shredded cooked chicken
- chopped mushrooms
- fresh spinach
- chopped asparagus
How to store
Place it in an airtight container and keep it refrigerated for up to 5 days. The best part is that the leftovers freeze beautifully for up to three months if you wrap them in foil and place them in freezer bags.
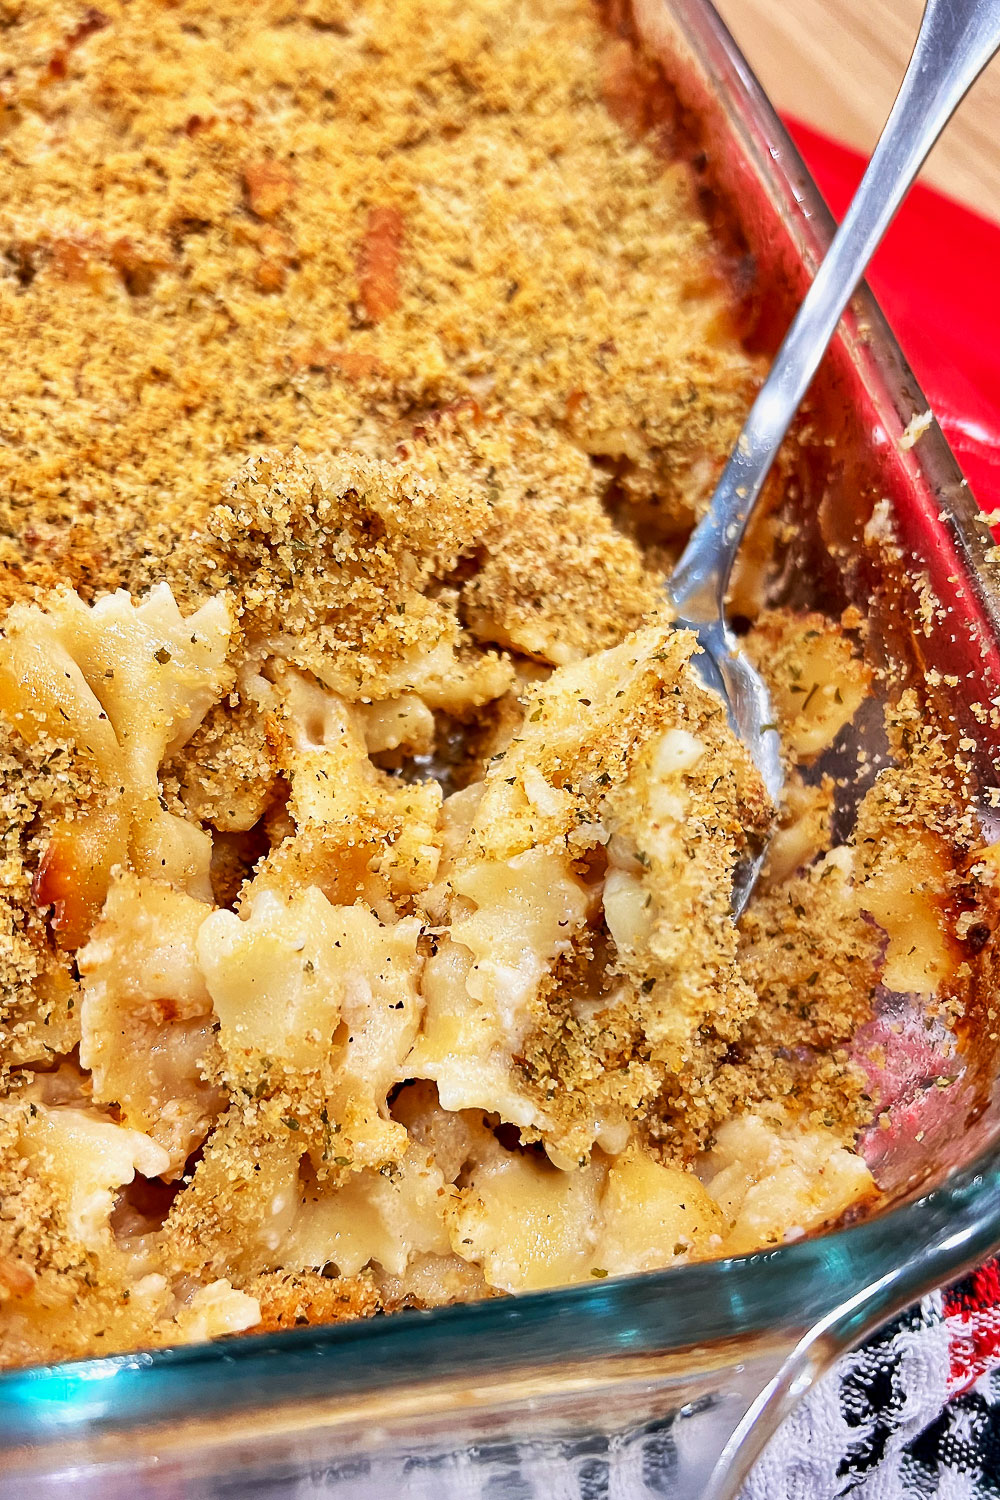
Enjoy! This is indeed a great recipe and a family favorite!
More recipes to love:
📖 Recipe

Easy No-Boil Mac And Cheese
Equipment
Ingredients
- 16 ounces pasta You can use either elbow, penne, fusilli, rotini, farfalle, etc. You will need about 16 oz. I used farfalle.
- 2 cups shredded cheddar cheese
- ¼ cup unsalted butter
- ¼ cup all-purpose flour
- 2 cups whole milk
- 4 cups water
- 1 tablespoon salt
- ½ teaspoon garlic powder
- ⅛ teaspoon crushed red pepper
- ¼ teaspoon black pepper
- ¼ teaspoon ground nutmeg
For the topping:
- 2 tablespoons unsalted butter
- 1 cup bread crumbs
- ½ cup cheese
- 2 tablespoons dried parsley
Instructions
- Preheat oven to 350F/180C.
- In a 13x9-inch baking dish, mix together dry pasta and shredded cheese.
- In a large saucepan, on medium-high heat, melt butter. Add flour and cook, whisking constantly for a minute, to get rid of any lumps.
- Add water, milk, salt, garlic powder, crushed red pepper, black pepper, and nutmeg. Whisk everything together and cook until the mixture comes to a boil.
- Pour the mixture over the pasta and cheese. Cover the pan with aluminum foil.
- Bake for 30 minutes, until pasta is almost tender.
- In the meantime, use a small skillet to melt the 2 tablespoons of butter. Stir in the bread crumbs and the dried parsley.
- Remove the pan from the oven, sprinkle bread crumb mixture over the top and add the rest of the shredded cheese.
- Bake, uncovered, for another 12 minutes, until cheese melts and bread crumbs are golden brown.



Mary says
I'm 76 yrs old and have made plenty mac and cheese dishes. I'm convinced there is no perfect one. I followed this recipe to the letter and found it to be too soupy and the noodles are now soggy. I will go back to boiling noodles first. My dish didn't look anything like yours. Disappointing for all the time and effort.
The Bossy Kitchen says
I am sorry to hear this. I am not sure why your dish came out soupy, as I made this recipe multiple times in my kitchen and also for other people in their kitchens. It never came out soupy or soggy. I tested the recipe multiple times also before I put it on the blog. I hope you measured the liquid correctly. Otherwise, I have no explanation, as it never happened to me.
Mary says
@The Bossy Kitchen, Thank you for responding.
Jeff Baumgartner says
Such a great dish for supper, specially for the kids, and it’s easy to make!