
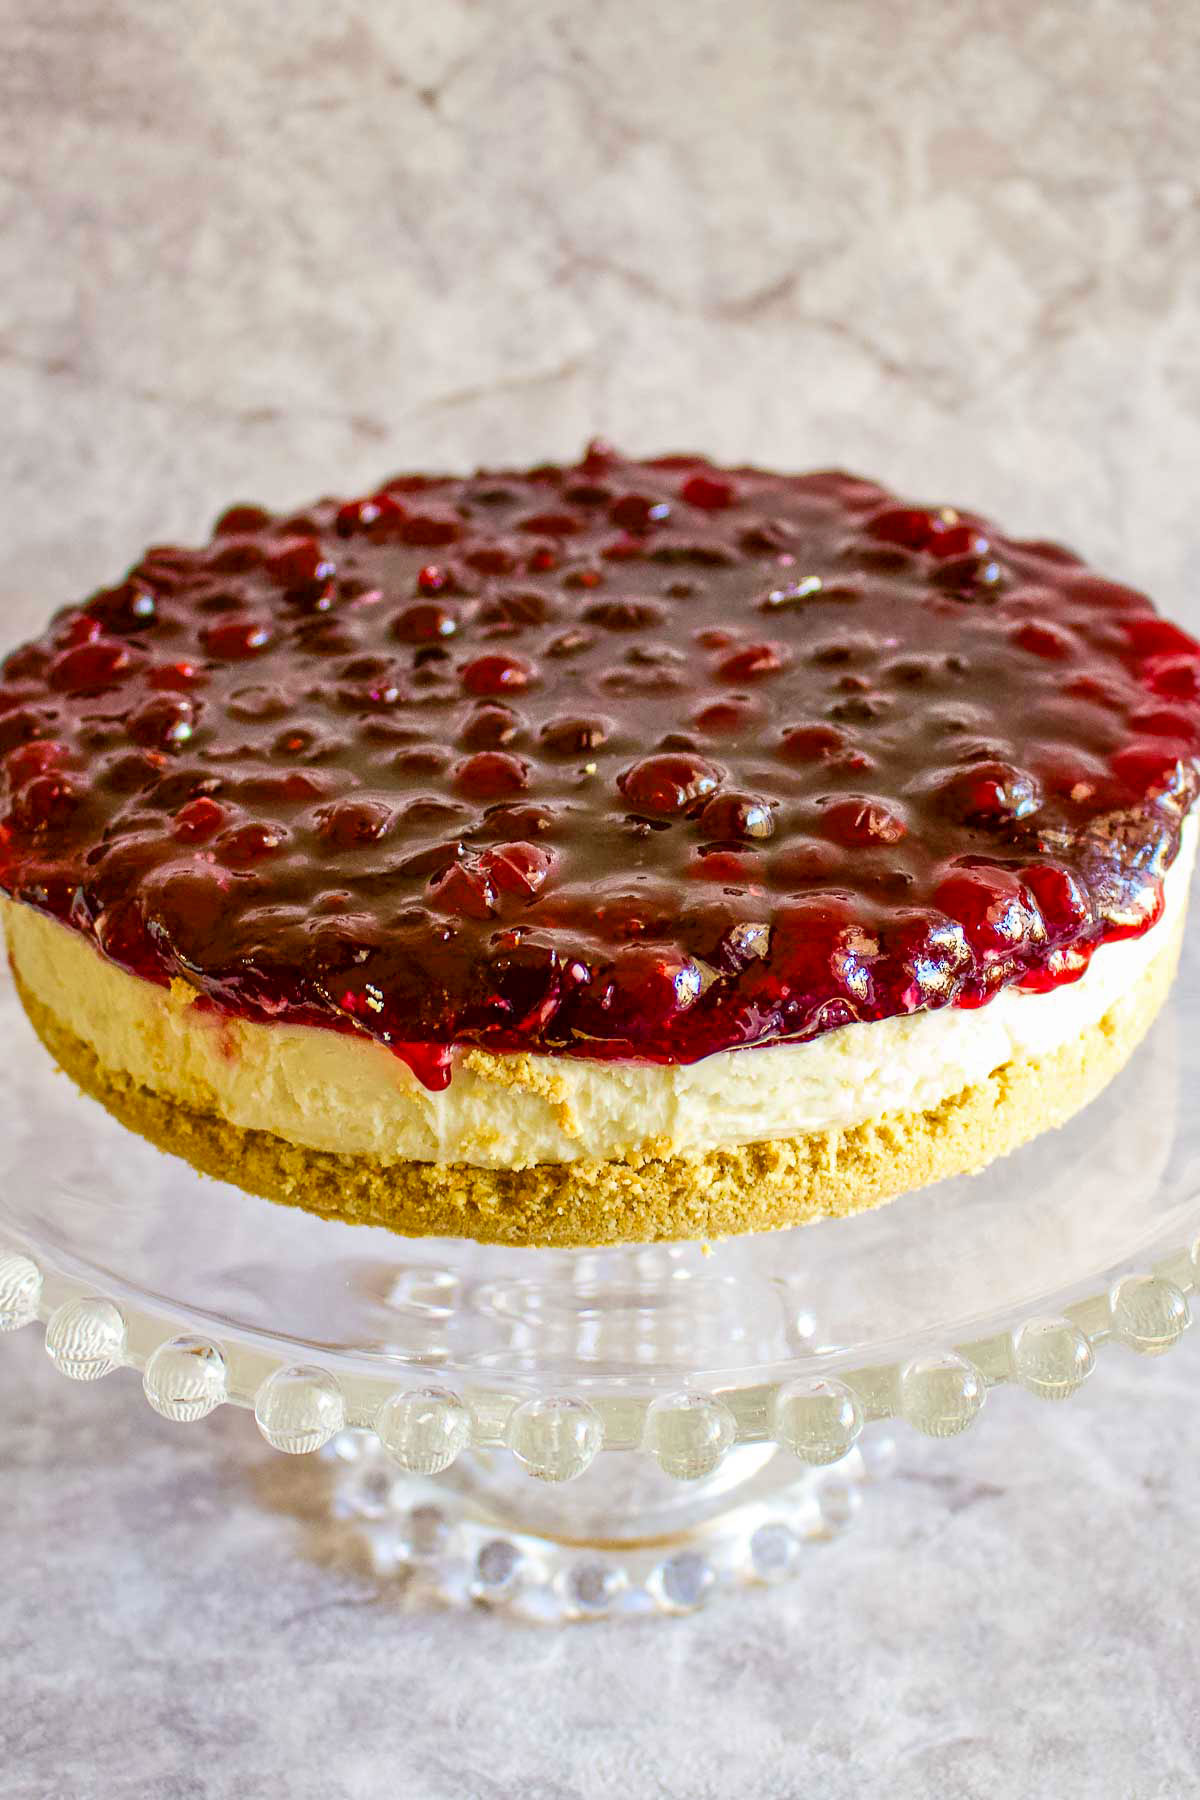
This Philadelphia No-Bake Cheesecake with Berries is a stunning and easy dessert, ideal for various occasions throughout the year. You can assemble this recipe in just one hour. Since it requires setting in the refrigerator for a few hours, it's an excellent choice for preparing in advance.
This recipe is part of my collection of cakes and entremets, where you can find a variety of cakes and dessert tarts perfect for entertainment. If you enjoy easy cooking and baking, maybe you will also like this Charlotte Russe Cake, a no-bake old-fashioned cake that comes from Europe, or this Easy Romanian Traditional Easter Cheesecake that you have to try for a change.
Jump to:
🙋♀️ What is a no-bake cheesecake?
This Philadelphia No-Bake Cheesecake features a classic graham cracker crust and a delicious non-baked Philadelphia cheesecake filling. It also blends creamy richness with the bright flavors of summer berries. This dessert is designed for simplicity and elegance and skips the oven entirely, making it a breeze to prepare and perfect for any occasion.
It is less sweet but full of natural flavors and high-quality ingredients. Whether you choose to personalize it with your favorite fruits or enjoy it as is, this easy cheesecake recipe will quickly disappear from the serving platter, proving it's a true crowd-pleaser.

📝 Ingredients needed
(For the amount of each ingredient and instructions, please scroll to the bottom of the article to get a printable recipe card)
This cheesecake uses simple ingredients that you can easily find in grocery stores.

For the homemade graham cracker crust:
- Graham Crackers - The base for the crust. Alternatively, you can use vanilla wafers or digestive biscuits for a similar result.
- Unsalted Butter - Binds the crust ingredients.
- Cinnamon Powder - Adds warmth and spice to the crust. A pinch of nutmeg or allspice can also complement the flavor profile.
- Lemon Zest - Provides a citrus note to balance the sweetness. Orange or lime zest can be substituted for a different citrus hint.
Cream Cheese Filling:
- Philadelphia Cream Cheese - The main component of the filling, known for its creamy texture and mild taste. Any brand of cream cheese or mascarpone can serve as a substitute.
- Heavy Whipping Cream - Gives the filling its light and airy consistency.
- Granulated Sugar - Sweetens the filling. Powdered sugar can be used as an alternative.
- Gelatin Sheets - Stabilizes the cheesecake filling. If unavailable, granulated or powdered gelatin (follow package instructions for equivalent use) can be utilized.
- Vanilla Extract - Enhances the filling with a sweet, aromatic flavor. Vanilla bean paste is an acceptable alternative.
Top:
- Berries (Strawberries, raspberries, blueberries, cranberries, fresh or frozen) add a slightly tart contrast to the rich filling. Use any combination of berries you like or substitute with other fruits like peaches or mangoes for a different flavor. While I never used it before, cherry pie filling might work here as well.
- Granulated Sugar - Sweetens the berry topping. Adjust the amount based on the sweetness of the berries and personal preference.
- Water - Used to create the syrup for the berry topping; no replacement is needed.
- Gelatin Sheets (for the berry topping) - Helps set the berry mixture. If not available, use the same amount of granulated or powdered gelatin as a replacement.
👩🍳 How to make this no-bake cheesecake
Crust:
- Blend graham crackers, butter, cinnamon, and lemon zest in a food processor until crumbly.
- Firmly press the mixture of graham cracker crumbs into a 9-inch springform pan, ensuring it covers the bottom and 1 ½ to 2 inches up the sides.
- Flatten the surface and chill in the freezer for at least 10 minutes.

Tip: A store-bought graham cracker crust makes this dessert even easier to assemble.
Notes on Using Gelatin:
Before we start making the filling, let's talk for a minute about how to use gelatin.
- How to use different gelatin types: Gelatin is crucial for the structure of both the filling and the topping. For best results, use gelatin sheets or your preferred type, ensuring proper hydration and melting as described. Remember, 1 (0.25 oz.) envelope of granulated gelatin equals 1 tablespoon of powdered gelatin or 3 sheets of leaf gelatin. Adjust the type based on availability, following package instructions for non-sheet types.
- How to hydrate the gelatin: Soak the gelatin sheets in cold water in a medium bowl until soft, about 3-4 minutes, then squeeze out excess water. Gently heat without boiling, then blend into your mixture. For powdered gelatin: Follow the packet instructions.
Philadelphia Cheesecake Filling:
- In a large mixing bowl, beat the cream cheese with sugar and vanilla; set aside.
- In a separate bowl, whip the heavy cream to soft peaks. (You can also use a stand mixer)Fold the whipped cream into the cream cheese mixture gently.
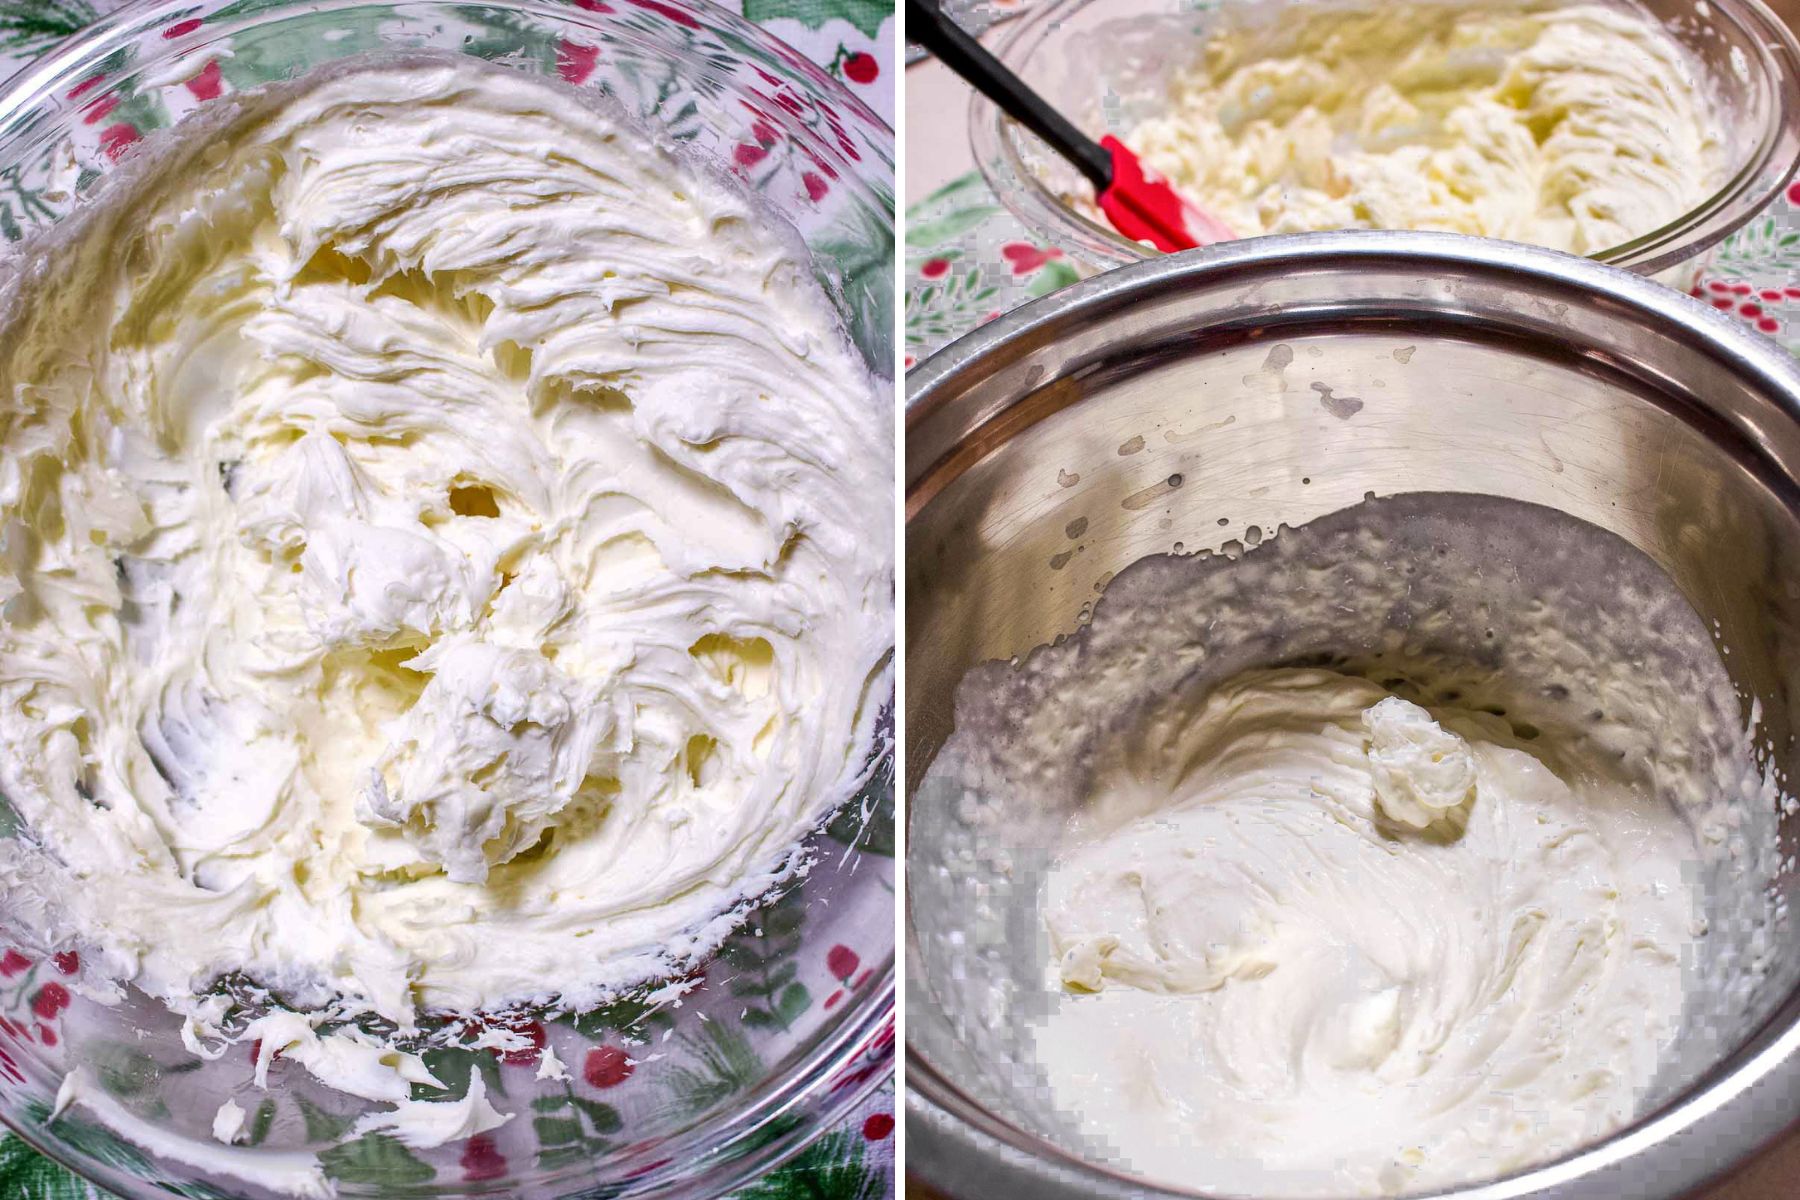
3. Hydrate gelatin sheets in ice-cold water for 2-3 minutes, then squeeze out excess water. Melt the gelatin gently in a double boiler or saucepan without letting it boil. Incorporate the melted gelatin into the cream cheese mixture thoroughly.

4. Pour this creamy filling mixture over the crust, smooth the top with a spatula, cover with plastic wrap, and refrigerate until set, about 2 hours.

Top:
- Boil water and sugar in a pot, then add the berries and bring to a boil once more (avoid simmering, except for cranberries). The goal is to preserve the shape of the fruits. Remove and let cool for a few minutes.
- Let the berry mixture cool slightly.
- Hydrate additional gelatin, melt it as previously instructed, and mix it into the warm berry syrup until fully dissolved.
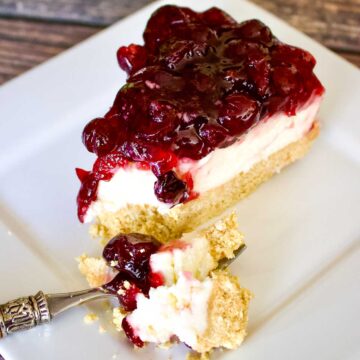
- Gently pour the berry mixture over the set cheesecake and refrigerate overnight.

Finishing Touches:
- The next day, release the cheesecake from the springform and place it on a serving platter.
- Serve cold for a beautifully set and delicious dessert. It could be a great recipe to make for Easter, Mother's Day, birthday celebrations, small graduation parties, and even Christmas.
📦 How to store the leftovers
- Refrigeration: Place the cake in an airtight container and keep it refrigerated for up to four days.
- Freezer: You can freeze this No-Bake Philadelphia Cheesecake. Just make sure it's fully set, wrap it tightly in plastic wrap and foil, and freeze. Thaw in the fridge before serving.
- Note: Freezing may slightly change the texture, but it'll still taste great.

💡 Frequently Asked Questions
Yes, if homemade whipped cream isn't an option, using Cool Whip is a suitable alternative. It can help thicken the cheesecake similarly to homemade whipped cream
Possible reasons include not chilling it long enough, incorrect ingredient proportions, or not using binding agents like gelatin correctly

🔀Variations for the no-bake cheesecake
- Chocolate Hazelnut: Incorporate chocolate hazelnut spread into your filling and use a chocolate cookie crust. (think Oreo cookies)
- Mango Lime: Blend mango puree into the cheesecake mixture and add lime zest for a tropical flair. Top with fresh mango slices and a lime glaze.
- Pumpkin Spice: Mix pumpkin puree and pumpkin spice into your filling for a fall-inspired dessert. A ginger snap crust could complement this version beautifully.
- Mocha Cheesecake: Add espresso powder to the filling for coffee lovers. A drizzle of coffee-flavored liqueur can enhance the flavor.
- Raspberry Lemonade: Incorporate lemon zest into your filling and top with a raspberry compote for a refreshing, tangy dessert.
- Salted Caramel: Swirl salted caramel into your cheesecake filling and top with additional caramel and a sprinkle of sea salt.
- Peanut Butter Chocolate: Add creamy peanut butter to the filling and use a mix of crushed peanuts and chocolate cookies for the crust. Drizzle with melted chocolate.
- Blueberry Lavender: Mix blueberry puree into your filling and add a hint of lavender extract for a unique, floral note.
- Lemon: Enhance its lemony flavor by adding fresh lemon juice and zest to the filling.

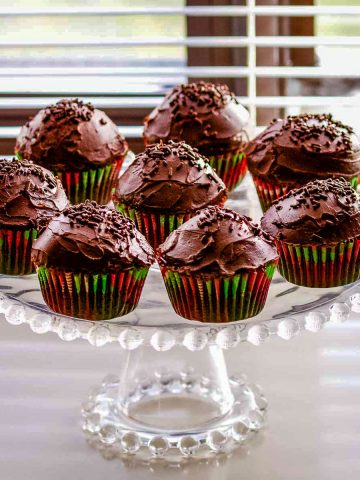
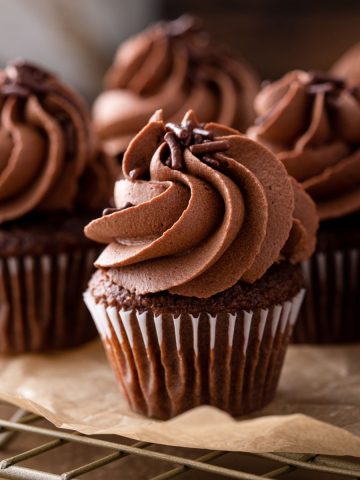
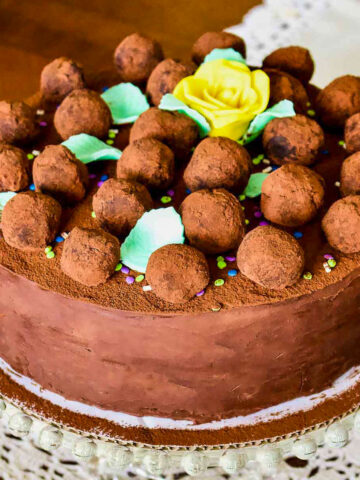
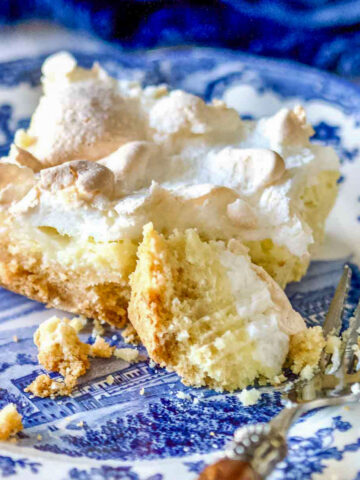
🍽️ More Recipes To Love


📖 Recipe
Philadelphia No Bake Cheesecake
Equipment
Ingredients
For the crust:
- 8 ounces graham crackers or vanilla wafers
- 6 tablespoons unsalted butter melted but cool
- ½ teaspoons cinnamon powder
- ½ lemon -zest
Cream cheese filling:
- 16 ounces Philadelphia cream cheese
- ½ cup heavy whipping cream
- ½ cup granulated sugar
- 4 gelatin sheets 1 envelope-0.25 oz. granulated gelatin or 1 Tablespoon powdered gelatin
- 1 teaspoon vanilla extract
Top:
- 1 ½ cups berries strawberries, raspberries, blueberries, cranberries-fresh or frozen
- ¼ cup granulated sugar
- ½ cup plain water
- 3 gelatin sheets 1 envelope-0.25 oz. granulated gelatin or 1 tablespoon powdered gelatin
Instructions
Crust:
- Using a food processor, grind the graham crackers together with butter, cinnamon, and lemon zest.
- Press the crumb mixture into a 9-inch springform pan, spreading it 1 ½ to 2 inches up the side.
- Press flat. Chill crust in the freezer for at least 10 minutes.
Cheese filling:
- Beat the cream cheese with sugar and vanilla and set it aside.
- Separately, whip the heavy cream.
- Add it to the cream cheese and gently fold it in.
- Hydrate the gelatin sheets in ice-cold water for 2-3 minutes.
- Remove the hydrated gelatin and squeeze the excess water.
- Melt the gelatin in a double boiler or a saucepan at low temperature. Make sure it doesn't boil.
- Add the gelatin to your mixture and mix well.
- Pour the cream cheese mixture into the pan over the crust.
- Smooth the top with a rubber spatula. Cover with plastic wrap, and refrigerate until firm for about 2 hours.
Top:
- To make the top of the cheesecake, place water and sugar in a pot on the stove and bring to a boil.
- Add the fruits to the syrup and bring to a boil again. Do not simmer the fruits unless you use cranberries. The goal is to preserve the shape of the fruits. Remove and let cool for few minutes.
- Hydrate the gelatin and add it to your warm syrup. Mix gently to make sure the gelatin dissolves completely in the syrup.
- Pour the fruits with the syrup over the cake and refrigerate overnight.
- The next day, remove the spring form and place the cake on a platter.
- Serve cold.
Cristina says
Dear Gabriela, this recipe sounds delicious and easy to make, but I still have a question about handling the gelatin. After it hydrates you say to melt it by putting it in a saucer or double boiler at low temperature. My question is: in order to melt the gelatin do I need to put it in water and if so how much water? Thank you in advance for your response.
The Bossy Kitchen says
Hi Cristina, you do not need any water. The article says: “ After the gelatin is hydrated, squeeze the water out of it and place it in a saucer or a double boiler at low temperature.” It will melt right away and then you can use it in the recipe.