
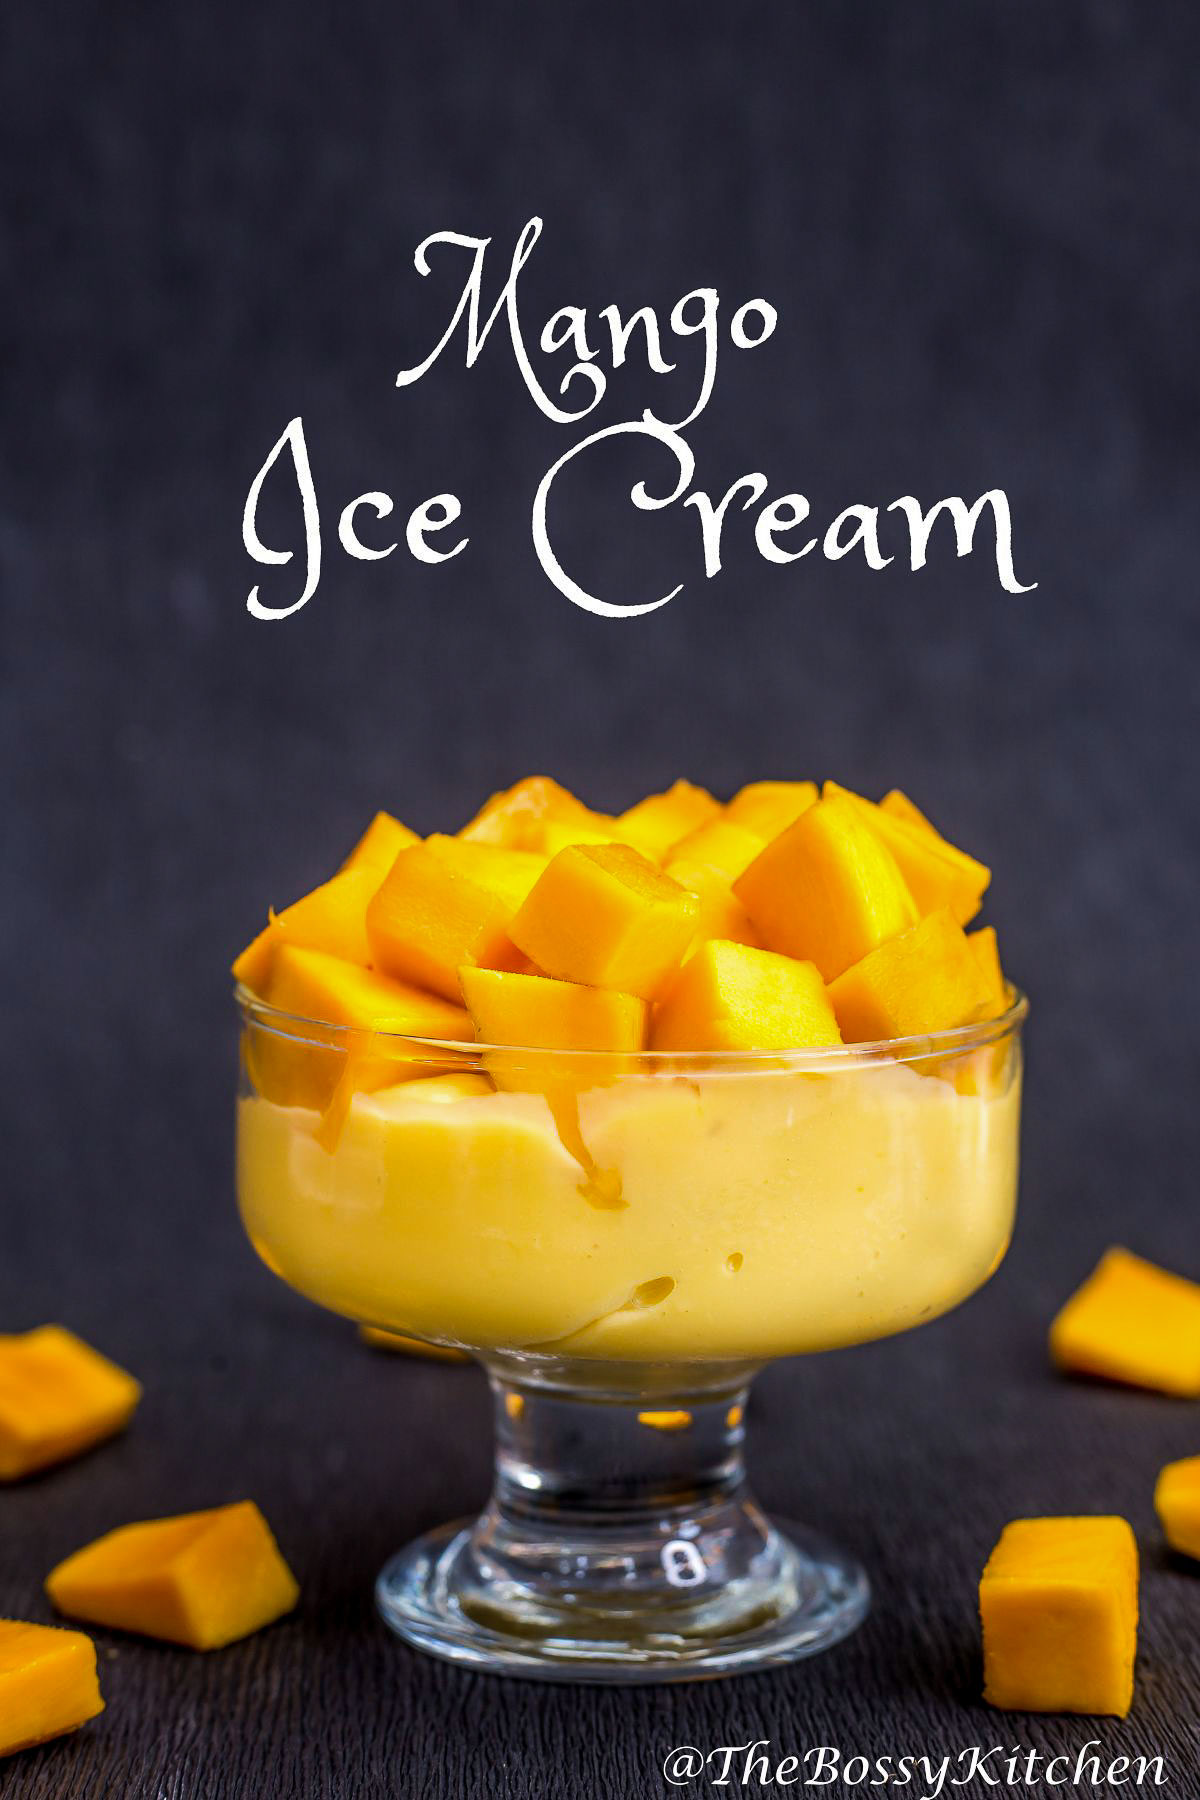
If summer had a flavor, it might just be mango. This homemade mango ice cream is simple, creamy, and bursting with tropical flavor. The best part? You don't need an ice cream maker, just a blender, a saucepan, and some patience. But there's more to it than just blending fruit and cream. I'll share with you what makes this recipe actually work, what people usually get wrong, and a few tricks most recipes leave out.

Jump to:
What Makes This Mango Ice Cream Different?
- No shortcuts on flavor: Mango is the star, so picking the right kind matters. I'll explain below why Ataulfo or Kent will give you that smooth, luscious texture, and why Tommy Atkins might ruin it.
- No fancy machines needed: You'll get creamy results using tools you already have.
- No icy chunks: Thanks to one secret ingredient (spoiler: it's honey), this ice cream stays smoother than most no-churn recipes.
Real Talk: What Most Recipes Don't Tell You
Did You Know?
Most store-bought mango ice cream uses stabilizers like guar gum or mono- and diglycerides. This recipe skips all that, and still gives you a creamy texture, naturally.
- All mangoes are not created equal: Mangoes with a fibrous texture (like Tommy Atkins) make stringy, icy ice cream. You want a creamy variety like Ataulfo or Kent. If you can't find them fresh, frozen mango chunks are a good backup, just thaw them completely.
- Skip the blender trap: Over-blending can trap air, especially if you're using a high-speed blender. That can lead to icy, grainy texture. Blend just until smooth, no more.
- Honey isn't just sweet, it's science: Most people skip honey or swap it with more sugar. Big mistake. Honey's hygroscopic properties (it holds onto water) help prevent large ice crystals. This is what keeps the texture creamy without stabilizers. It's also why this ice cream tastes better the next day. In pastry school, we used glucose or corn syrup to fight ice crystals. At home, honey does the same job, plus it adds flavor.
- Don't skip the heat step: Heating the base dissolves sugar properly and kills off bacteria in the milk and cream. It also improves the mouthfeel of the final dessert. Don't let it boil, just gently heat to 180°F/82°C.
- Do you want creamier results without a machine? Stir often. Set a timer and stir every 45 minutes during freezing. This breaks up ice crystals and mimics the churn of a machine. After 3 to 4 hours, you'll have a texture close to professional-grade ice cream.

Flavor Variations That Actually Work
- Mango Coconut: Replace half the cream with coconut milk. Adds depth and goes beautifully with chopped toasted coconut on top.
- Mango Chili Lime: Add a pinch of chili powder and lime zest to the puree for a spicy twist. Surprisingly addictive.
- Mango Yogurt Swirl: Swirl in thick Greek yogurt before freezing. Tangy, creamy, and slightly probiotic.
Mango Ice Cream Pairings You'll Want to Try
- With grilled pineapple and a drizzle of caramel
- Next to a slice of coconut pound cake
- In a bowl topped with chili-salted peanuts
- Scooped onto waffles with extra mango puree as syrup
Storage Tip You Won't Read Elsewhere Press a piece of parchment paper directly onto the surface of the ice cream before closing the lid. This minimizes freezer burn and helps keep that fresh texture longer.

Recipe Faqs
Yes, just thaw fully and drain any excess liquid before blending.
It helps the sugar dissolve and improves the final texture. Cold bases often freeze gritty.
Use corn syrup or agave as a backup. They have similar anti-crystallization effects, but honey still gives the best flavor.
Yes, the ice cream base recipe stays the same, but you can add other fruit purees. You can use any fresh fruit puree you like. Strawberry, blueberry, raspberry, peach, or banana puree are just a few ideas.
Yes. You can add other flavorings or mix-ins to the ice cream base to create different variations. For example, you can replace the fruit with coconut cream and the milk base with coconut milk.
Other things you can use:
- Vanilla extract
- Maple syrup
- Chocolate chips
- Nuts
Do not mix them all together. Just choose one or two flavors and go with them.

More recipes to enjoy
- Apricot Jam With Ginger Almonds And Mint
- Sour Milk (Buttermilk) Honey Cookies
- 31 Decadent No-Bake Pies
- Peanut Butter Cookies

📖 Recipe

Homemade Mango Ice Cream
Ingredients
- 20 oz mango puree about 2 big ripened mangos
- 3 ½ tablespoons lemon juice
- ⅔ cup heavy cream
- 1 cup whole milk
- ¾ cup granulated sugar
- 3 ½ tablespoons raw honey
Instructions
- Peel the mangoes and remove the stone from the inside. Cut the mango pulp into pieces and place them in a blender. You can also use a hand blender or a food processor for this step.
- Add the lemon juice to the blender and puree the mango until smooth. For a shortcut, use store-bought mango puree.
- In a saucepan, combine the ice cream base, which is heavy cream, milk, sugar, and honey. Heat the mixture over medium heat, stirring occasionally, until it reaches a temperature of 180F/82C. Use a kitchen thermometer. Do not let the mixture boil.
- Remove the saucepan from the heat and pour the hot milk mixture over the mango puree in the blender. Blend until the mango mixture is smooth and fully combined.
- Place the blender bowl with the mixture in a larger bowl with icy water to cool down.
- Note: If you have an ice cream maker:Pour the mixture into the ice cream maker and churn it according to the manufacturer's instructions until it reaches a smooth and creamy consistency.Transfer the ice cream to a freezer-safe container and freeze for an additional 2-4 hours or until it is fully frozen. If you don't have an ice cream maker, keep reading and continue with the recipe.
- When the mixture is cooled, pour it into a shallow air-tight container with a lid and place it in the refrigerator for 2 hours. This will allow the flavors to blend.
- After 2 hours of cooling, remove the container from the fridge and place it in the freezer. You can also use a loaf pan to freeze the ice cream, but you have to cover it with aluminum foil or plastic wrap.
- Set the timer for 45 minutes, and then take the container out and stir the mixture with a fork. Continue doing this every 45 minutes for about 4 hours until the mixture is frozen.
Notes
Nutrition
Comments
No Comments