How to make homemade bone broth like your grandma used to make- nutritious and delicious, a great tool for healing, used for centuries all over the world.
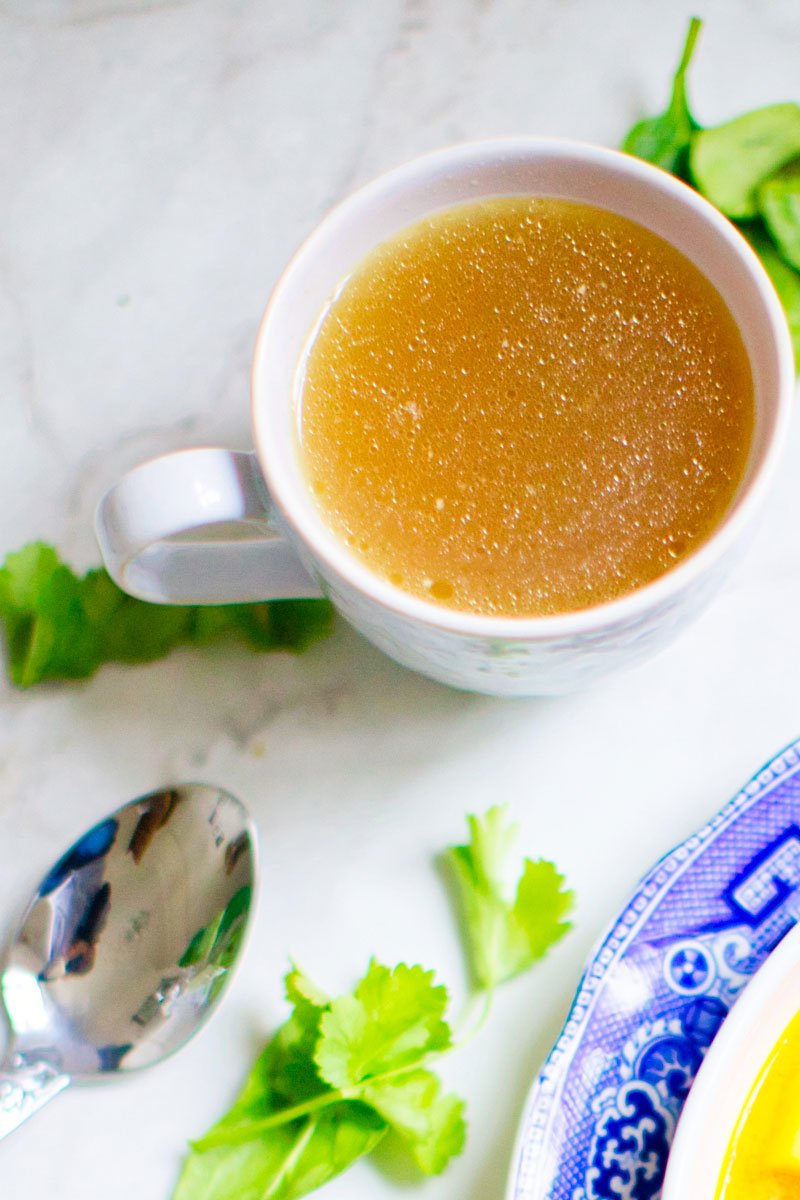
Credit: Natural Chef Carolyn Nicholas
Healing and Delicious Bone Broth
Broths and stocks have been part of almost every culture’s culinary tradition for centuries. Our grandmas knew that broth was a relatively cheap, easy, and low-calorie source of nutrients in an easy-to-digest form.
For many modern cultures, this knowledge was kind of forgotten, but I am glad to see it coming back. If you never had bone broth before, you are here for a real treat.
Traditional bone broth not only tastes great, but it’s also really satisfying and seems to have an almost immediate healing impact when you drink or eat it.
Today, I am sharing with you a recipe for bone broth that is easy to make and uses just a few ingredients. One piece of advice I have though is to always buy organic certified, pasture-finished beef, organic pork, and poultry for your broths.
Bones from conventional factory-farmed animals are not the same as nutrient-dense bones from healthy grass-fed animals. If you want the most nutrient-dense bone broth, use bones from animals raised properly!
Bone broth is a really nutritious alternative to store-bought stock and you can use it in exactly the same way—to make sauces, soups, stews, or rice.
But sometimes nothing beats a steaming mug of nicely seasoned bone broth on its own, especially during the colder months. Bone broth nourishes the body and can help to soothe the gut wall, repairing damage and aiding digestion.
Louise Hay says in her book "Bone Broth Secret" that "Bone broth is easier to make than you might think, and it has healing properties that go deeper than we can imagine."
Bones represent the structure of the Universe. When we feel we know the truth, we feel it deep in our bones. Bone broth is grounding and nourishing."
I personally think she is right. I love soups in general and I love broths. They warm you up and they heal the body and the soul.
Bone broth has a few marvelous benefits, culinary and health-wise. You can drink or eat it as it is.
Or you can warm it up and add some noodles to it. You can add it to soups and stews. It brings flavor and color to the dish.
Cook beans, rice, and quinoa, and replace the water with the broth. The bone broths boost immunity, alleviate the common cold and bronchitis, fight inflammation and it is good for bones, teeth, skin, and nails, due to the rich amount of collagen and minerals found in the bones.
I do not believe that bone broth is the answer to all illnesses, but I do think that it brings a tremendous benefit to our bodies.
The bone broth can be refrigerated for 3-5 days, and can also be frozen in ice cube trays or zip-top bags for later use. It is a great way to have small portions on hand for adding to recipes.
How To Make
You can use any kind of bones available. For this recipe, I used chicken, beef, and pork. I also used a few vegetables for flavor.
If you have dietary requirements and cannot use one or the other type of bone, use whatever you are allowed to consume.
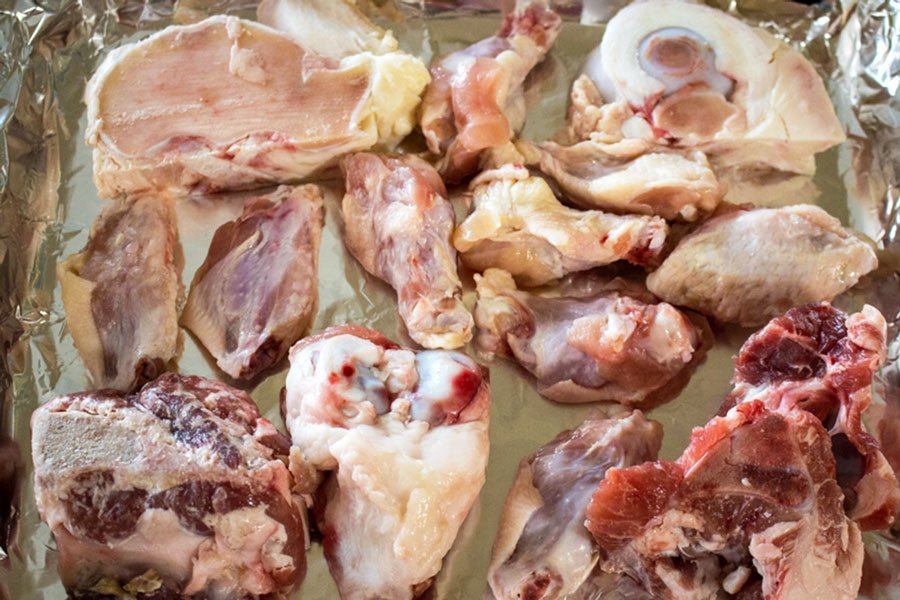
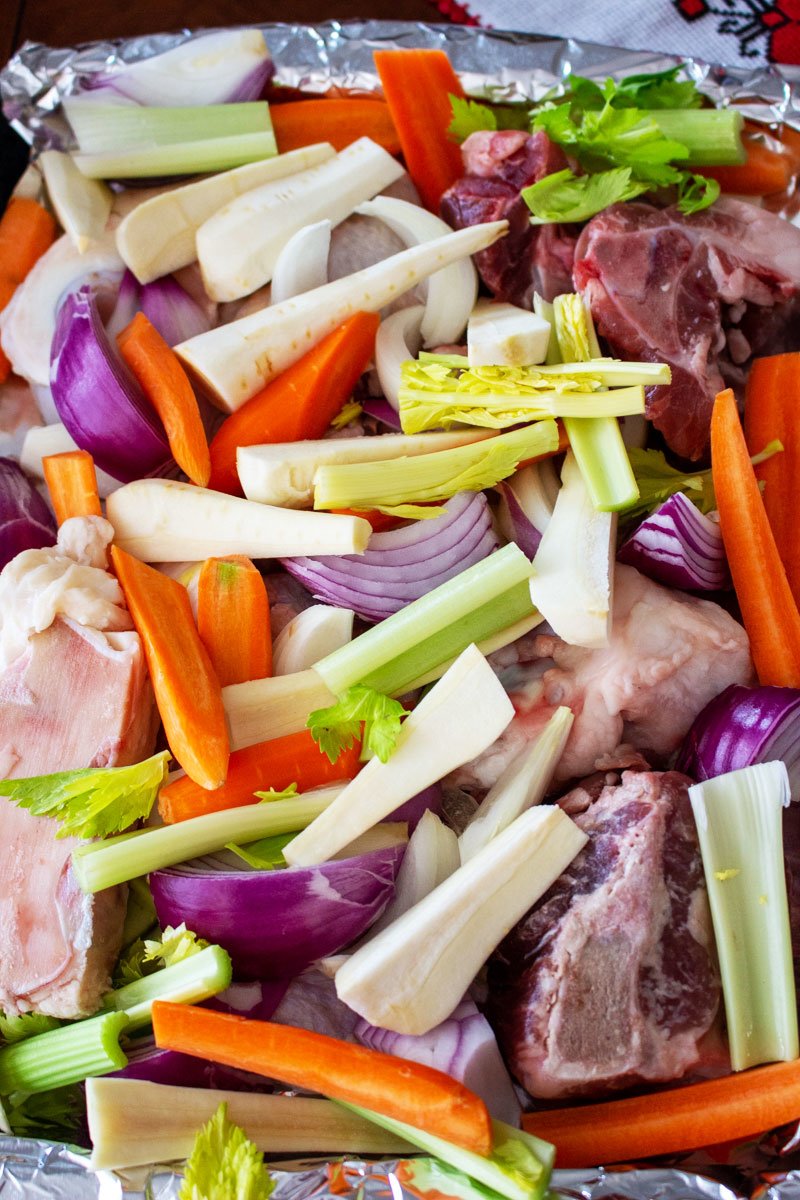
Preheat oven to 400F. Roughly chop a few carrots, parsnips, celery stalks, onions and garlic and place them together with the bones on a baking tray.
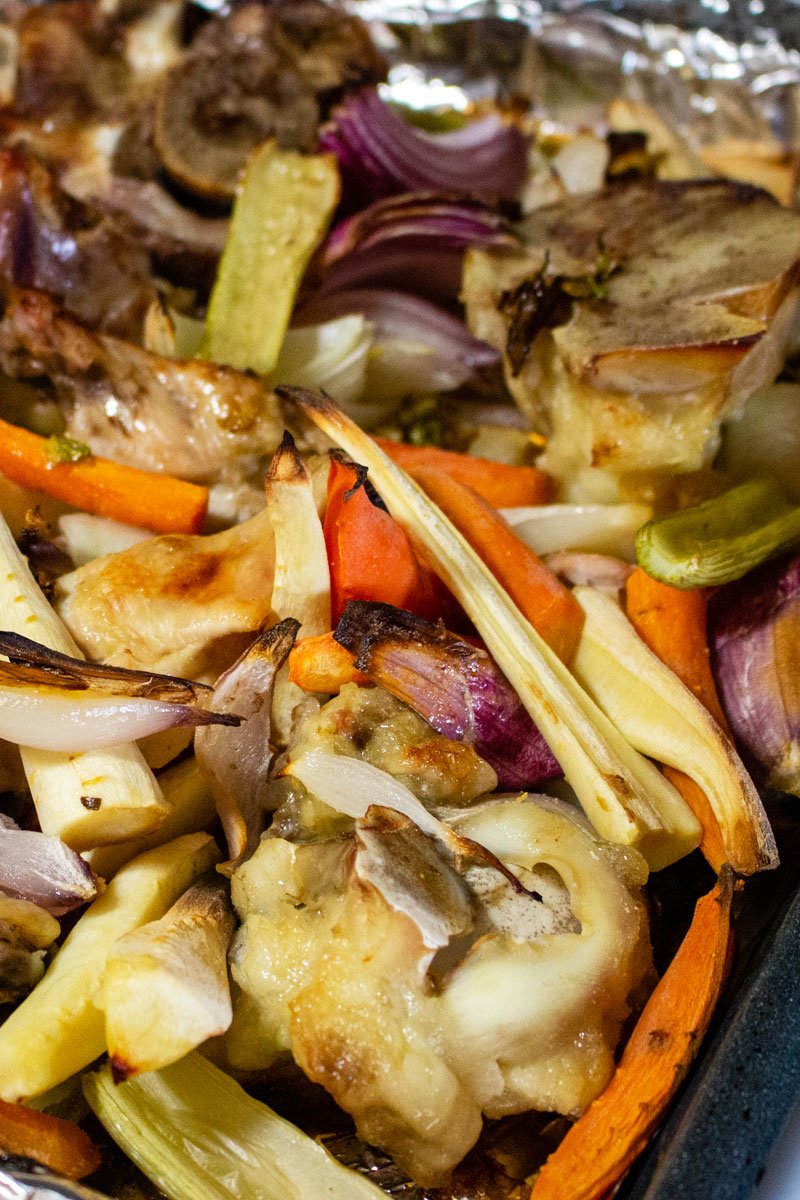
Roast everything for about an hour. We do this because the broth will have more flavor. Ahh, the smell of roasted vegetables and meat is divine!
Remove the tray from the oven and dump all the vegetables and bones in a soup pot. Add water to cover the bones and the vegetables.
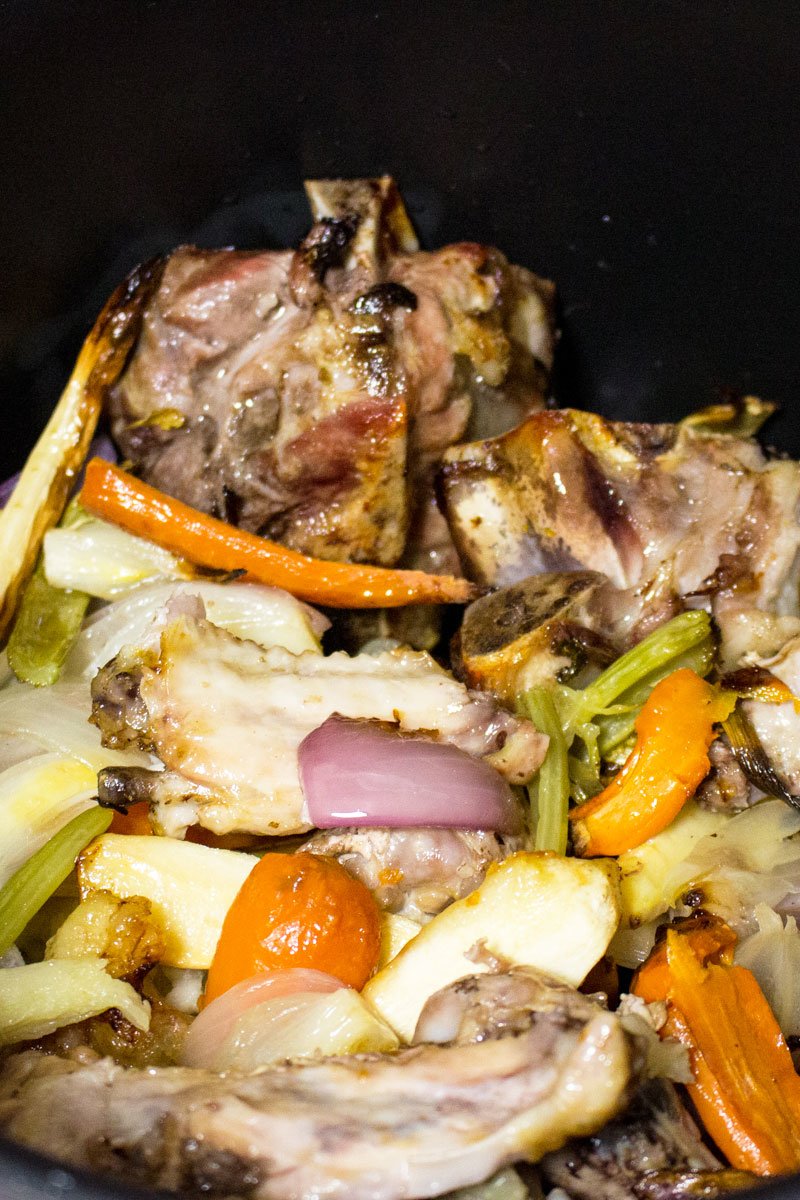
Add salt and pepper and a few bay leaves.
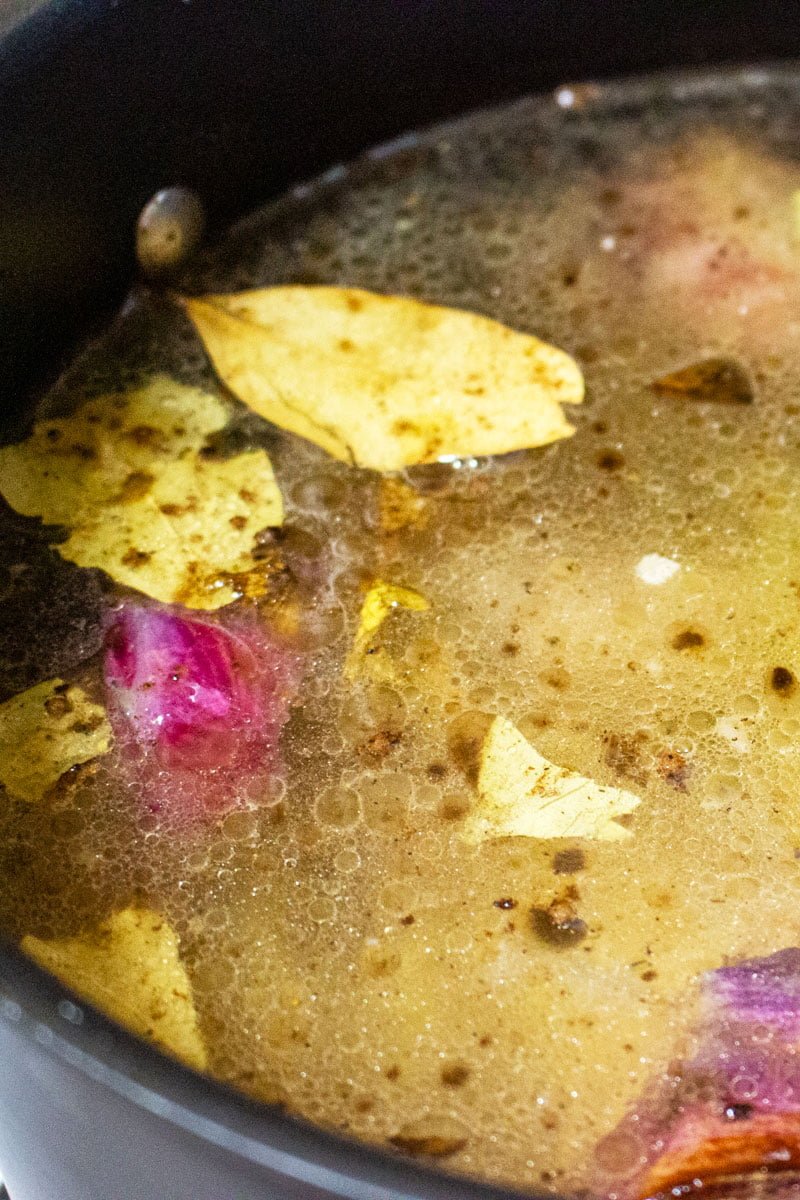
Bring the soup to a boil on high heat. Reduce the heat to a minimum and let the broth simmer, covered, for about 4 hours. After 4 hours, the meat should be already falling off the bones.
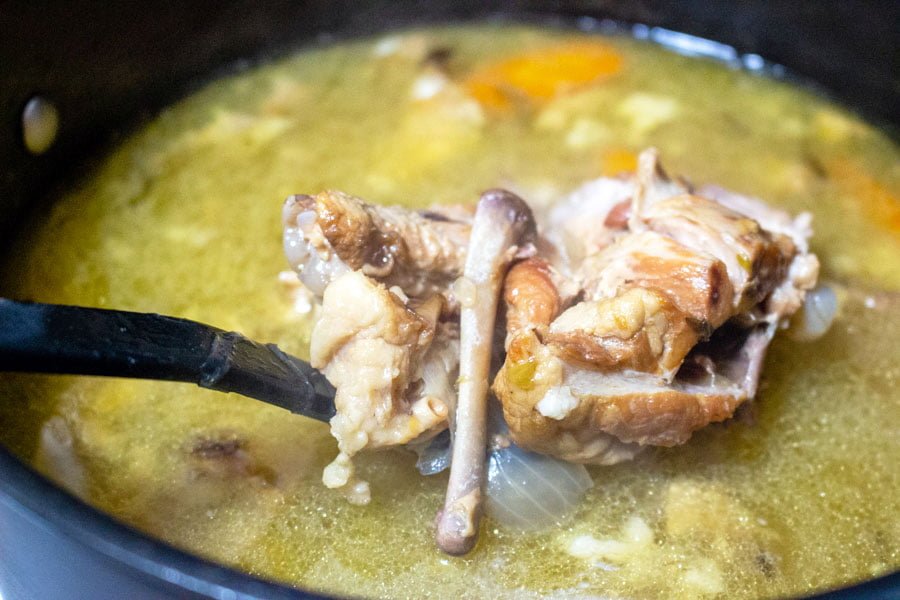
The next step is to strain the liquid from the meat, bones and vegetables. Don't discard the vegetables or the meat, though.
The vegetables can be consumed separately together with the meat. You can also remove only the bones from the soup and keep the vegetables and meat inside.
It is up to you, there is no rule for that. If you just want to sip the soup, then you need to strain the broth.
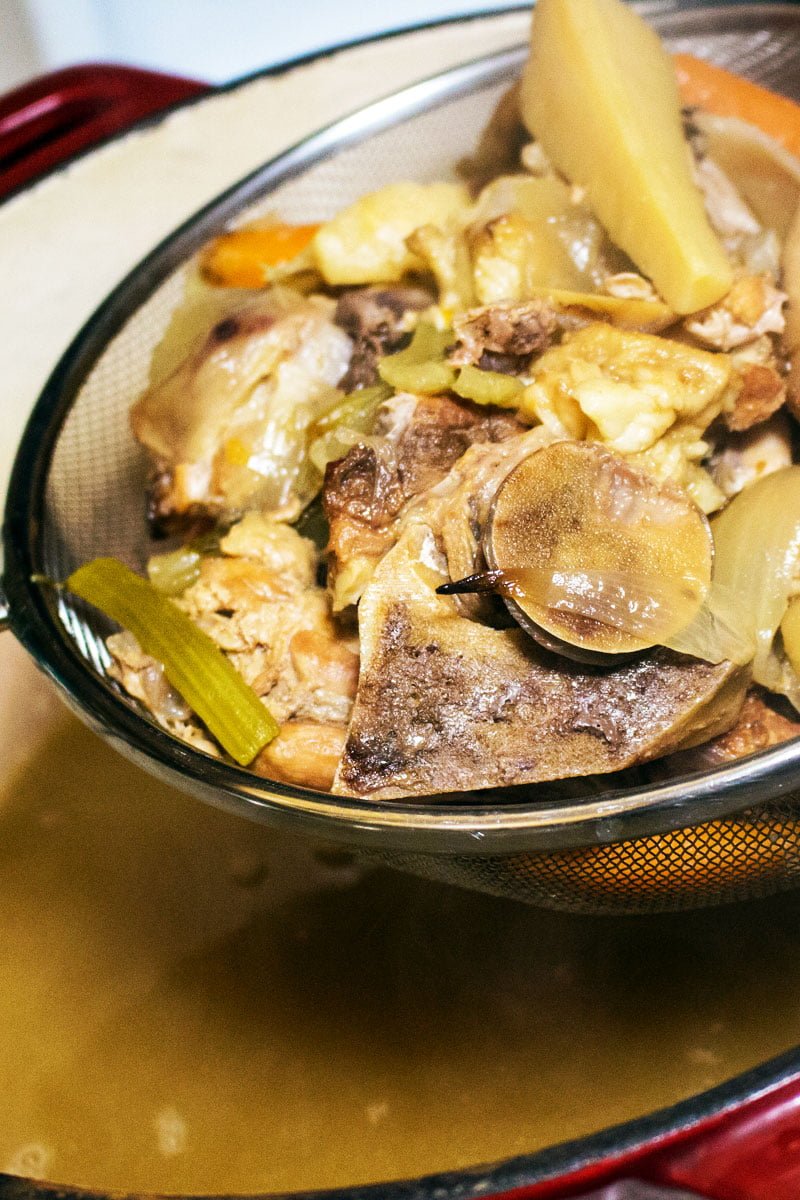
This is my bone broth :
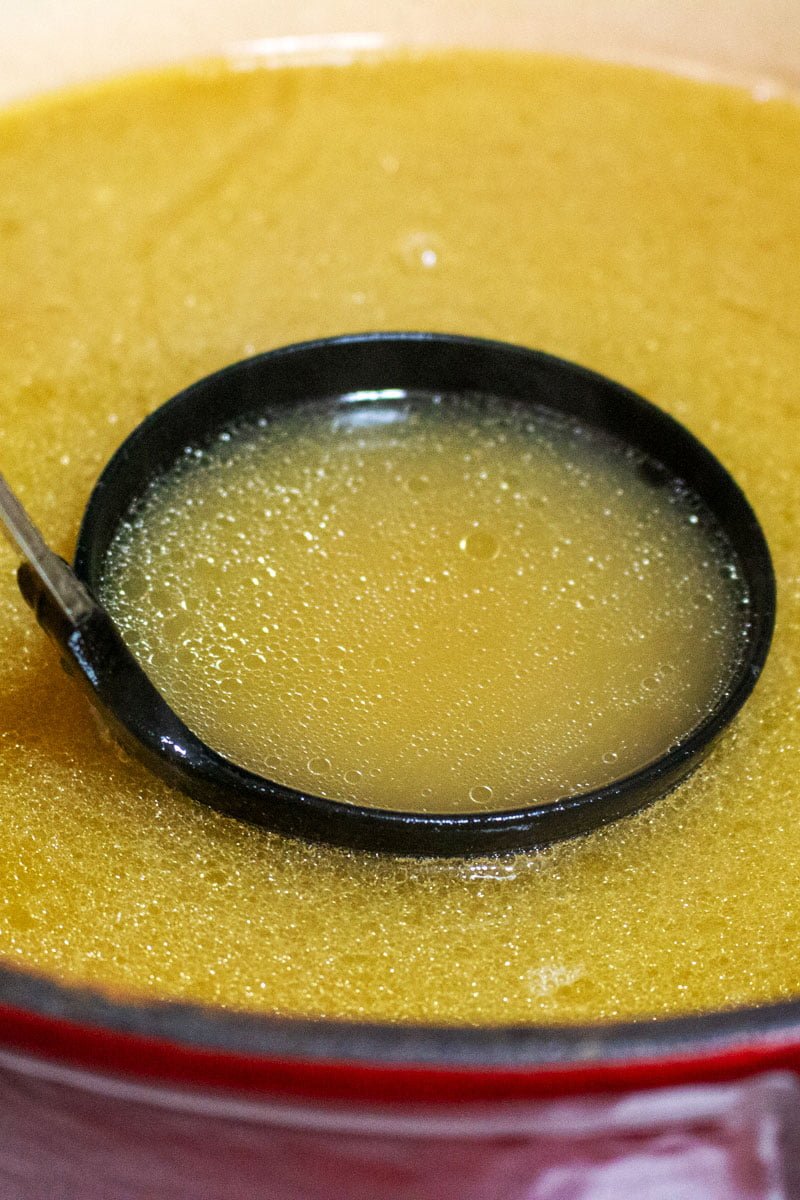
Some websites will tell you to simmer the bones for at least 24 hours to up to 72h. It seems to be a trend. I personally never heard of this, and I saw my mom and my grandmother making bone broth all my childhood.
They would use chunks of beef meat on bones with marrow and simmer the meat and the bones until the meat would fall off the bone. They would discard the bones, but give us the marrow on slices of fresh bread.
They knew it was good for the immune system. They would strain the broth and add pasta to it, then serve it like that.
The meat and the vegetables were served as a main dish after soup. It was a delicious and very economical way to feed nutritious food to an entire family.
Tips
Place the pot of strained soup in the refrigerator overnight. The next day, you will notice the liquid is congealed and has a thick layer of fat on top.
Remove the fat and discard. The broth can be now placed in ice cube trays or in zip-top plastic bags in the freezer for later use. Otherwise, the soup can be kept in the fridge for 3-5 days and consumed warm.
Pin this for later:

Interested in more soup recipes? Here is my collection!
Enjoy!
📖 Recipe

How To Make Homemade Bone Broth
Ingredients
- 2-3 pounds beef/pork/chicken bones the beef marrow bones are the best, but any organic bones will be ok
- 2 parsnips- roughly chopped
- 1 onion roughly chopped
- 1 red onion roughly chopped
- 3-4 celery stalks roughly chopped
- 4-5 carrots roughly chopped
- 1 garlic head
- salt and pepper to taste
- 3-4 bay leaves
- 8 cups water
Instructions
- You can use any kind of bones available. For this recipe I used chicken, beef and pork ones. I also used few vegetables for flavor. If you have dietary requirements and cannot use one or the other type of bone, use whatever you are allowed to consume.
- Preheat oven to 400F. Roughly chop few carrots, parsnips, celery stalks, onions and garlic and place them together with the bones on a baking tray.
- Roast everything for about an hour. We do this because the broth will have more flavor.
- Remove the tray from the oven and place all the vegetables and bones in a soup pot. Add water to cover the bones and the vegetables.
- Add salt and pepper and few bay leaves.
- Bring the soup to a boil on high heat. Reduce the heat to a minimum and let the broth simmer, covered, for about 4 hours. After 4 hours, the meat should be already falling off the bones.
- The next step is to strain the soup. Don’t discard the vegetables or the meat. The vegetables can be consumed separately together with the meat. You can also remove only the bones from the soup and keep the vegetables and meat inside. Your choice.
- Place the pot of strained soup in the refrigerator overnight. The next day, you will notice the liquid is congealed and has a thick layer of fat on top.
- Remove the fat and discard. The broth can be now placed in ice cube trays or in zip top plastic bags in the freezer for later use. Otherwise, the broth can be kept in the fridge for 3-5 days and consumed warm.
Notes
- Start the same by roasting meats, bones and vegetables in the oven.
- Place everything in the instant pot and add water up to 1-inch below the MAX fill line.
- Make sure your sealing ring is in place on the lid. Lock the lid onto the Instant Pot and set the steam release knob to the "sealing" position.
- Press the "manual" button and set your Instant Pot for high pressure for 120 minutes. It will take about 15-30 minutes for the Instant Pot to come to full pressure, then the display will show a countdown timer.
- After two hours, allow the pressure to release naturally. It will take about 15-30 minutes, then the float valve will drop.
- Strain the broth through a strainer and cool. A good broth will usually have a layer of fat on the top, and will gelatinize when thoroughly cool. Remove the fat with a spoon and discard.



Ellen Wortmann says
The best ever. I cook it over and over again, because it is so good, I put some of the broth in old glas jars and put it in the deepfreezer. If I am going to make a soup or a stew, I get out one of the glasses and add it. Makes every soup better. I love it.
The Bossy Kitchen says
Hi Ellen, This recipe is indeed a really good one. Thank you for taking the time to write a note. I really appreciate it.
Andrea says
This turned out great. Good for sipping to nurse a cold, and I’m sure it would enhance any recipe that calls for beef broth.